„Never say never again“… Originally only three locations were planned for the campaign “Ibiza & Bridges”. But on a road bike tour this summer I rode over a cable-stayed bridge, which perfectly fits into the series of IBL-based car renderings.

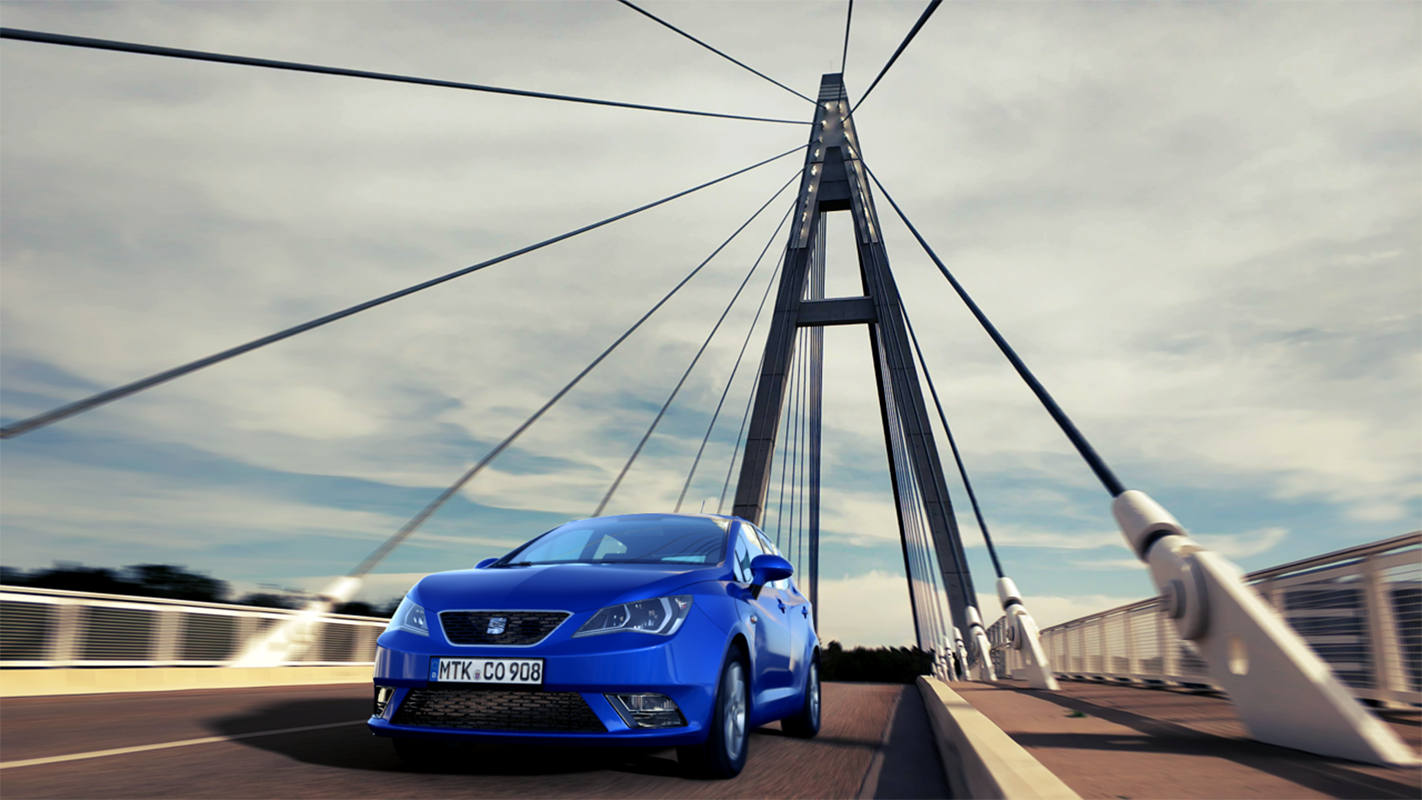
The fourth bridge is a cable-stayed bridge at Raunheim, Hesse. Built as a feeder for the Autobahn A3, the bridge is closed to pedestrians. The bridge is constructed with only one pylon with a total of 28 wire ropes.
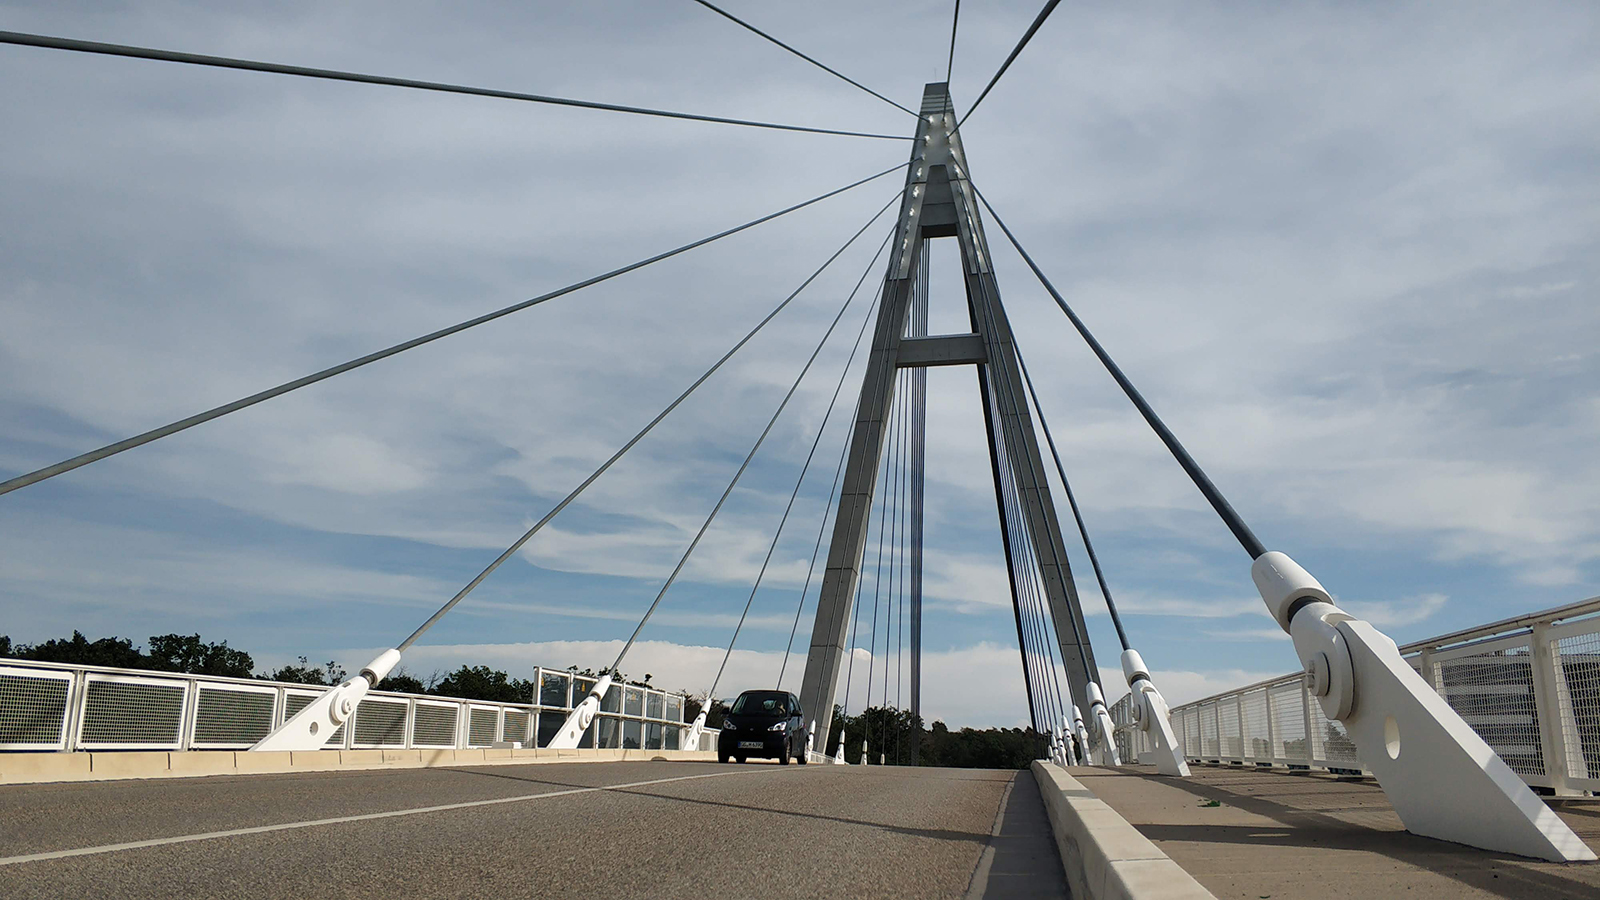
The backplate for Maya’s camera image plane is the original photo that was taken on the bike tour in July when I stopped briefly and took a photo near the ground. At this time of the day long shadows of the ropes were visible on the asphalt due to the low sun.

To capture the panorama weeks later, a similar time of day was chosen as when capturing the background image, to ensure equal light and shadow lengths. Light settings were planned using the online tool www.sonnenverlauf.de.
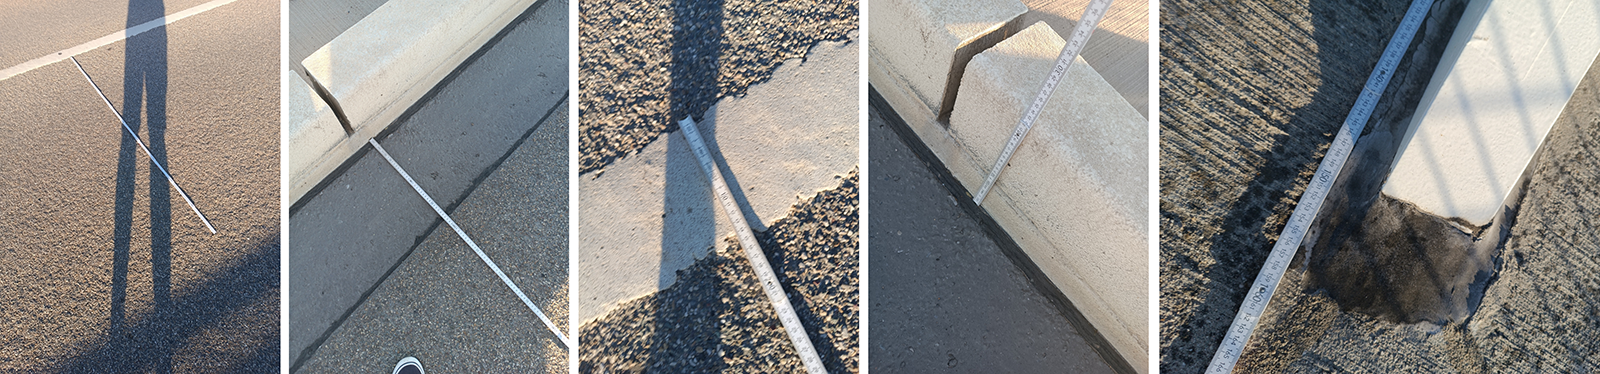
On location at a Sunday afternoon with reasonably little traffic on the road many parameters such as width of the street, distance from rope to rope and height of the curbs could easily be measured with a folding rule.
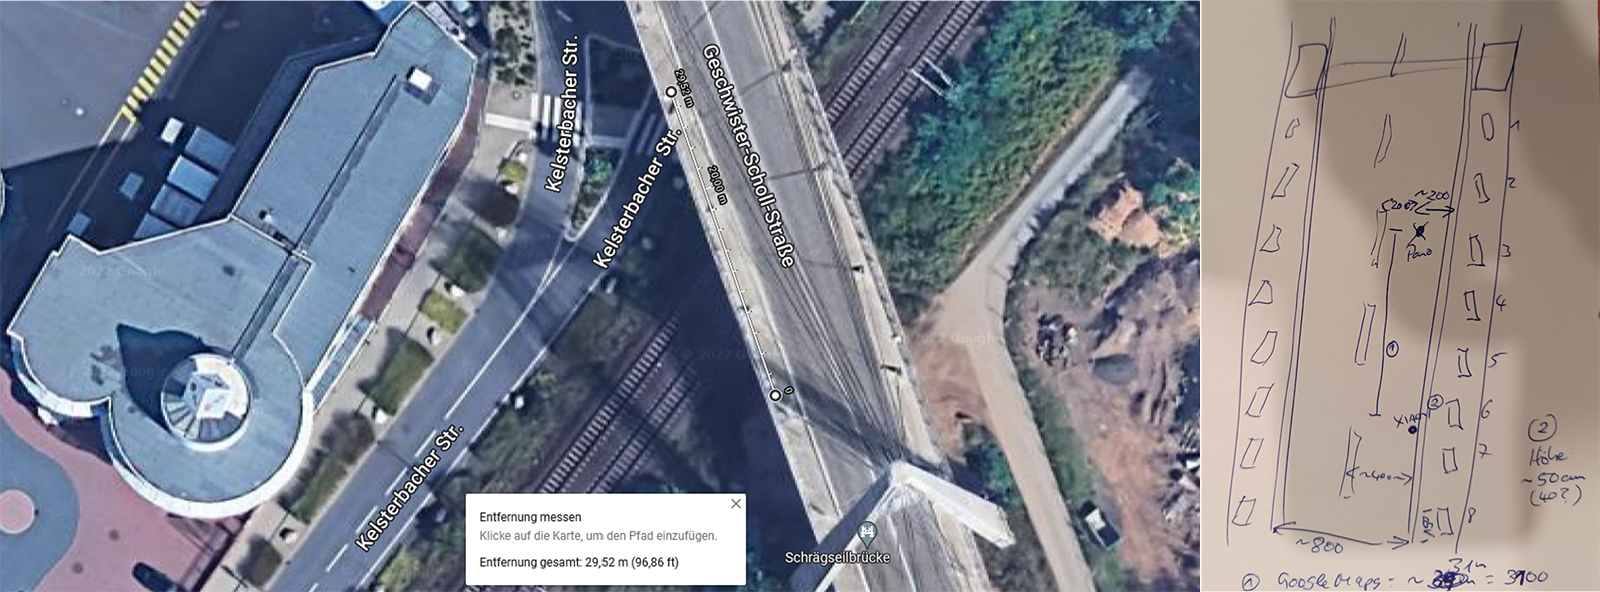
All measurements were later checked by setting some locators at google maps and comparing to the values on the sketch drawn on site.
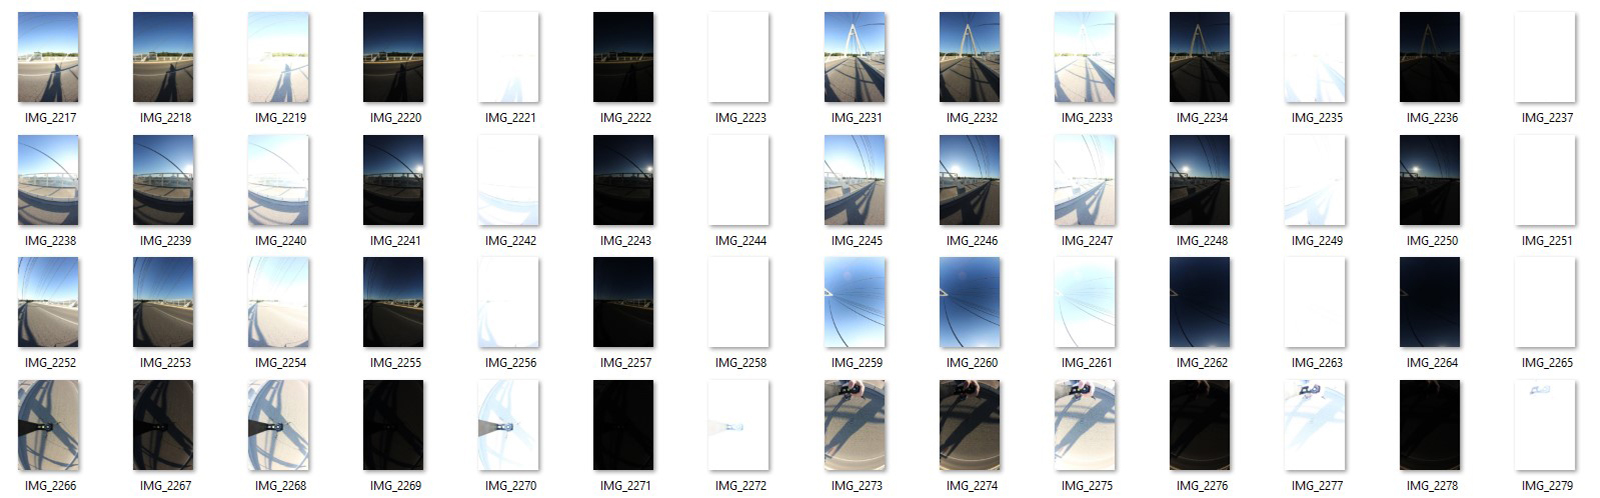
Again., the photos for panorama stitching were taken with a Canon Eos 60D and a Walimex 8mm 3.5 fisheye lens. Overall 8 bracketing series with seven exposure steps with 2 EV steps each were taken for zenith, equator row (5 series), nadir and offshot.
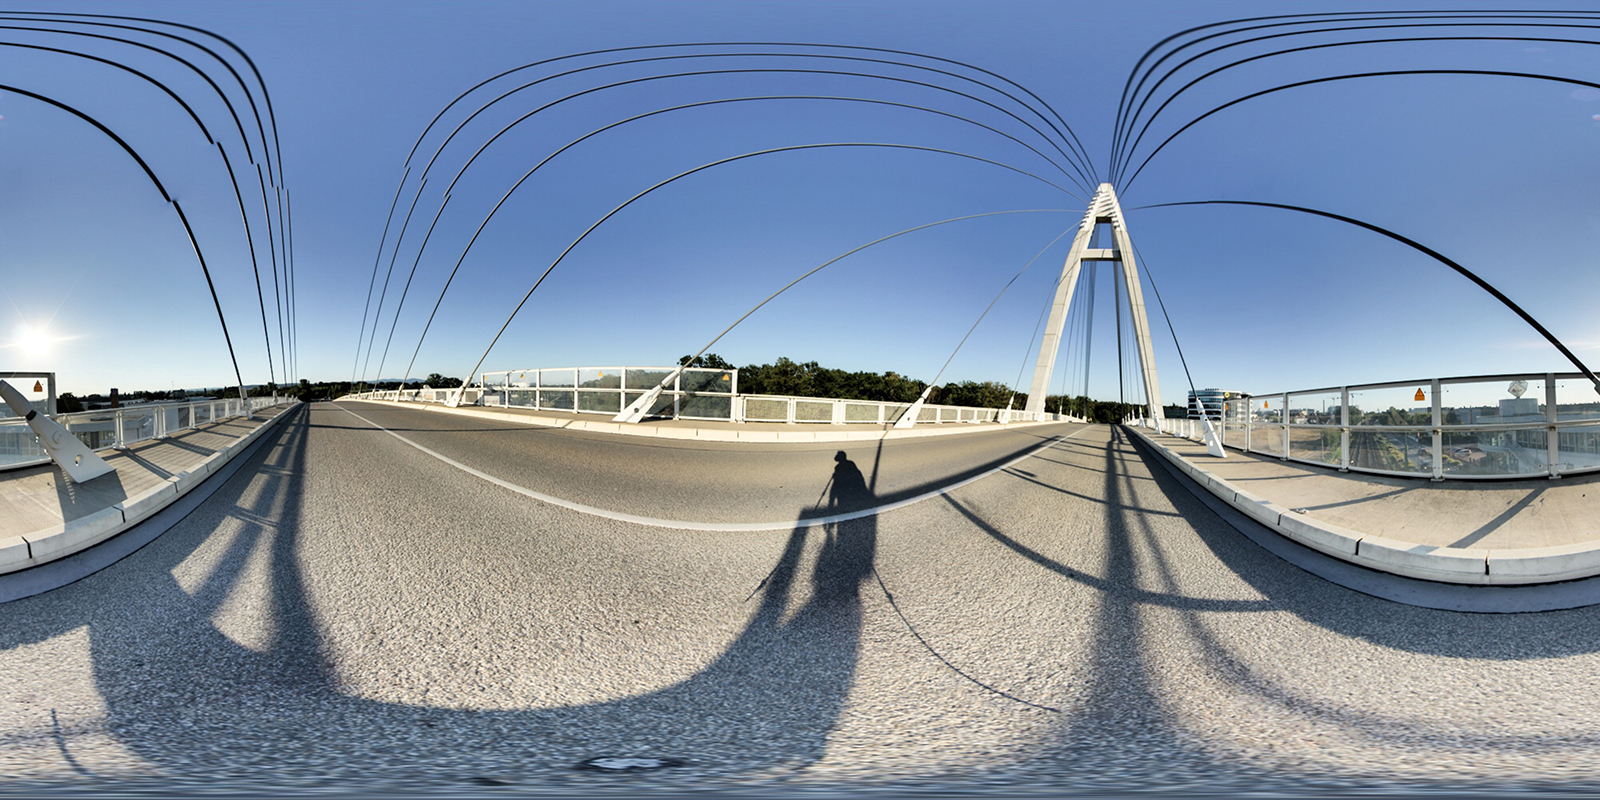
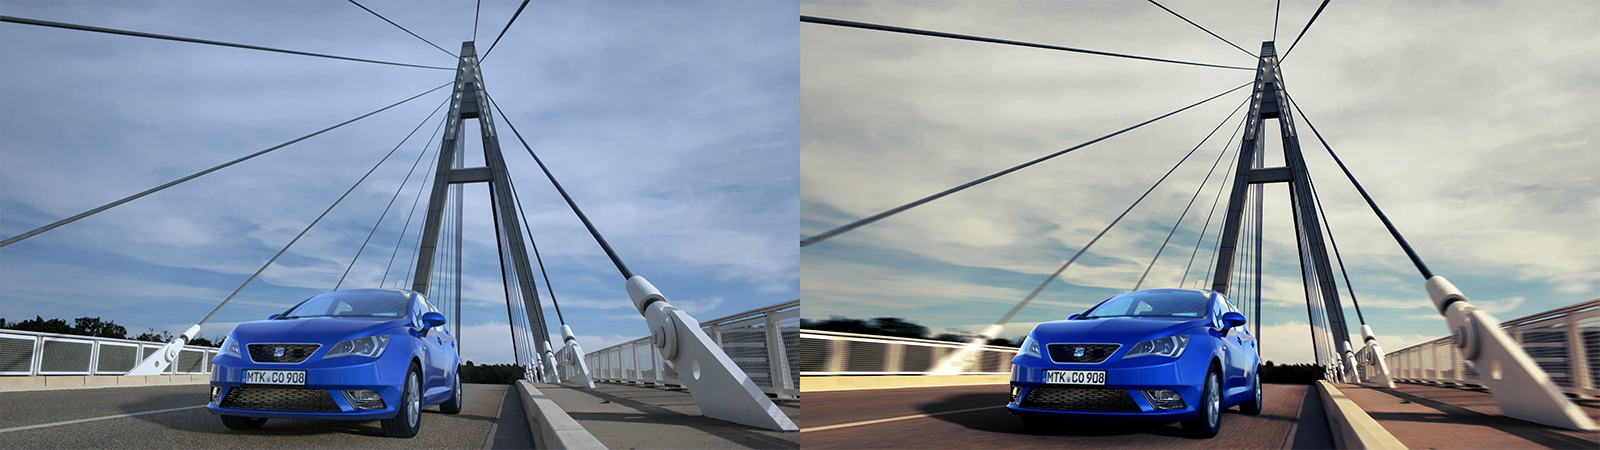
The HDR panorama was stitched with PTGui Pro 12 and an equirectangular projection was exported at a resolution of 8000*4000 pixels². In exr format. The image above shows the direct tone mapping result without any local detail enhancements.
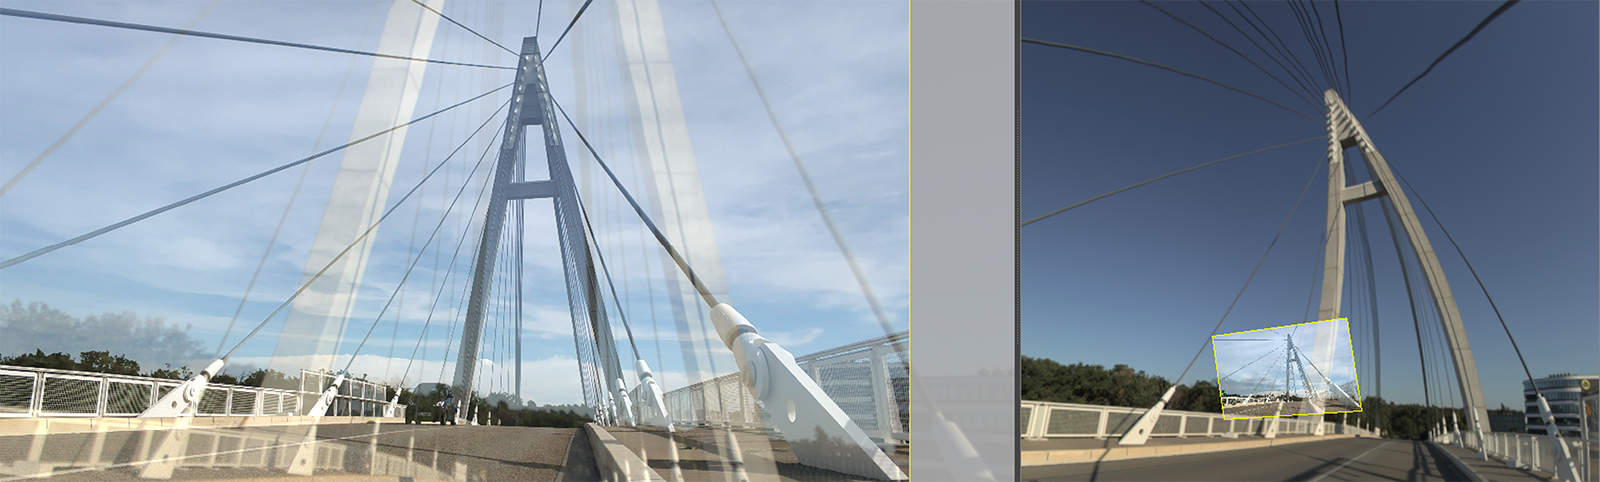
After importing the image into Maya the IBL sphere and the camera’s image plane set to 50% transparency could easily be aligned with the pylon as visual landmark.
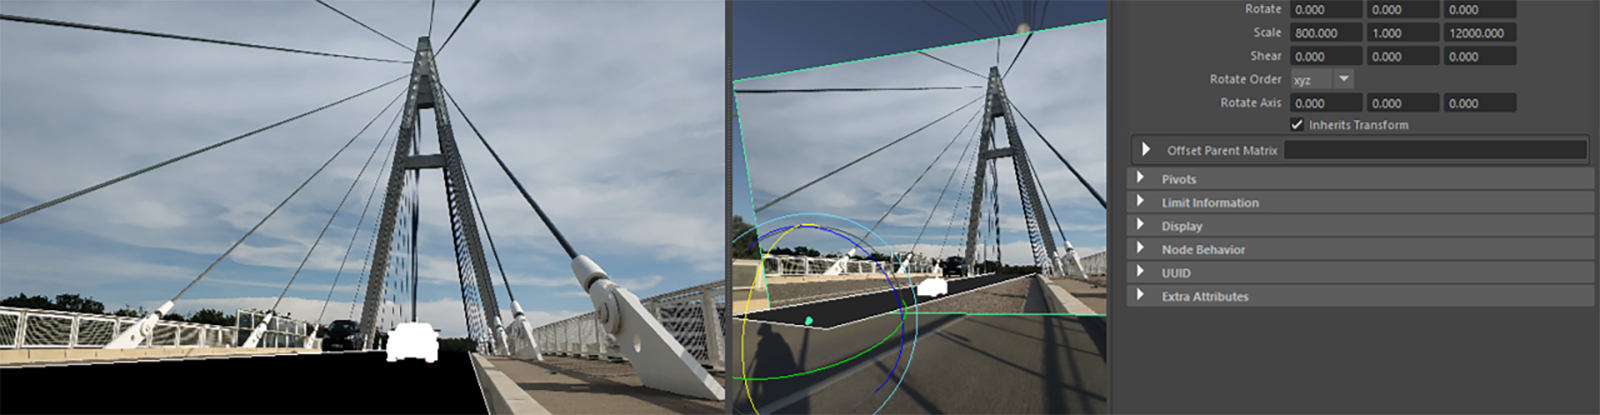
Only little tweaking of the camera transformation values was necessary after transferring the measured camera values from the sketch.
The car paint shader was this time set to blue. Similar to the rendering of “Ibiza & Bridges – Part 3” some post processing steps were applied in Pixlr with colour corrections and contrast enhancements.
