In preparation for lectures in Advanced Modeling Techniques I could test photogrammetry algorithms like Structure from Motion (SfM) with AliceVision Meshroom.
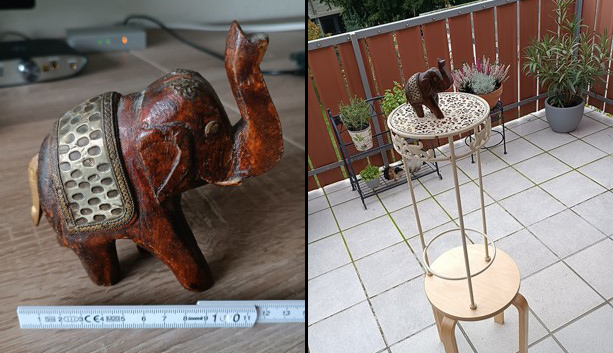
One of my first test objects to reconstruct was a small wooden decoration elephant measuring 14 cm wide, 13 cm high and 5 cm deep. In order to be able to photograph the object even slightly from below, the elephant was placed at a height of 1.5 m above the floor using a stool and a flower stand. As few shadows as possible should be visible in the images. Therefore, as the shooting location the balcony was chosen on a windless morning in autumn with the sky completely overcast.
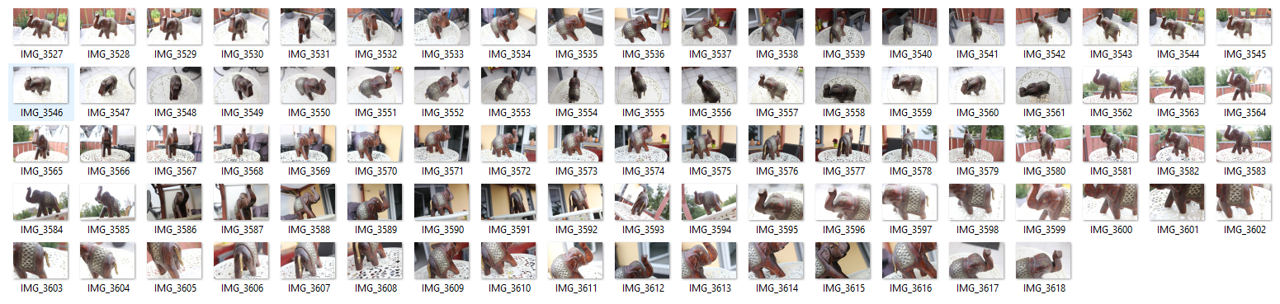
For taking photographs a Canon Eos 60D with a Sigma 17-50mm 1:2.8 lens was used. A total of 92 photos were taken with mostly around 35mm focal length at an aperture number of 7.1.

After executing the pipeline up to the node Structure from Motion Meshroom presented a point cloud which clearly showed the appearance of the real elephant surrounded by more than 90 virtual cameras.

Only one of the 92 photos (left) was not included in the reconstruction. The complete process needed up to here 21 minutes and resulted in a point cloud consisting of more than 54k 3D points.
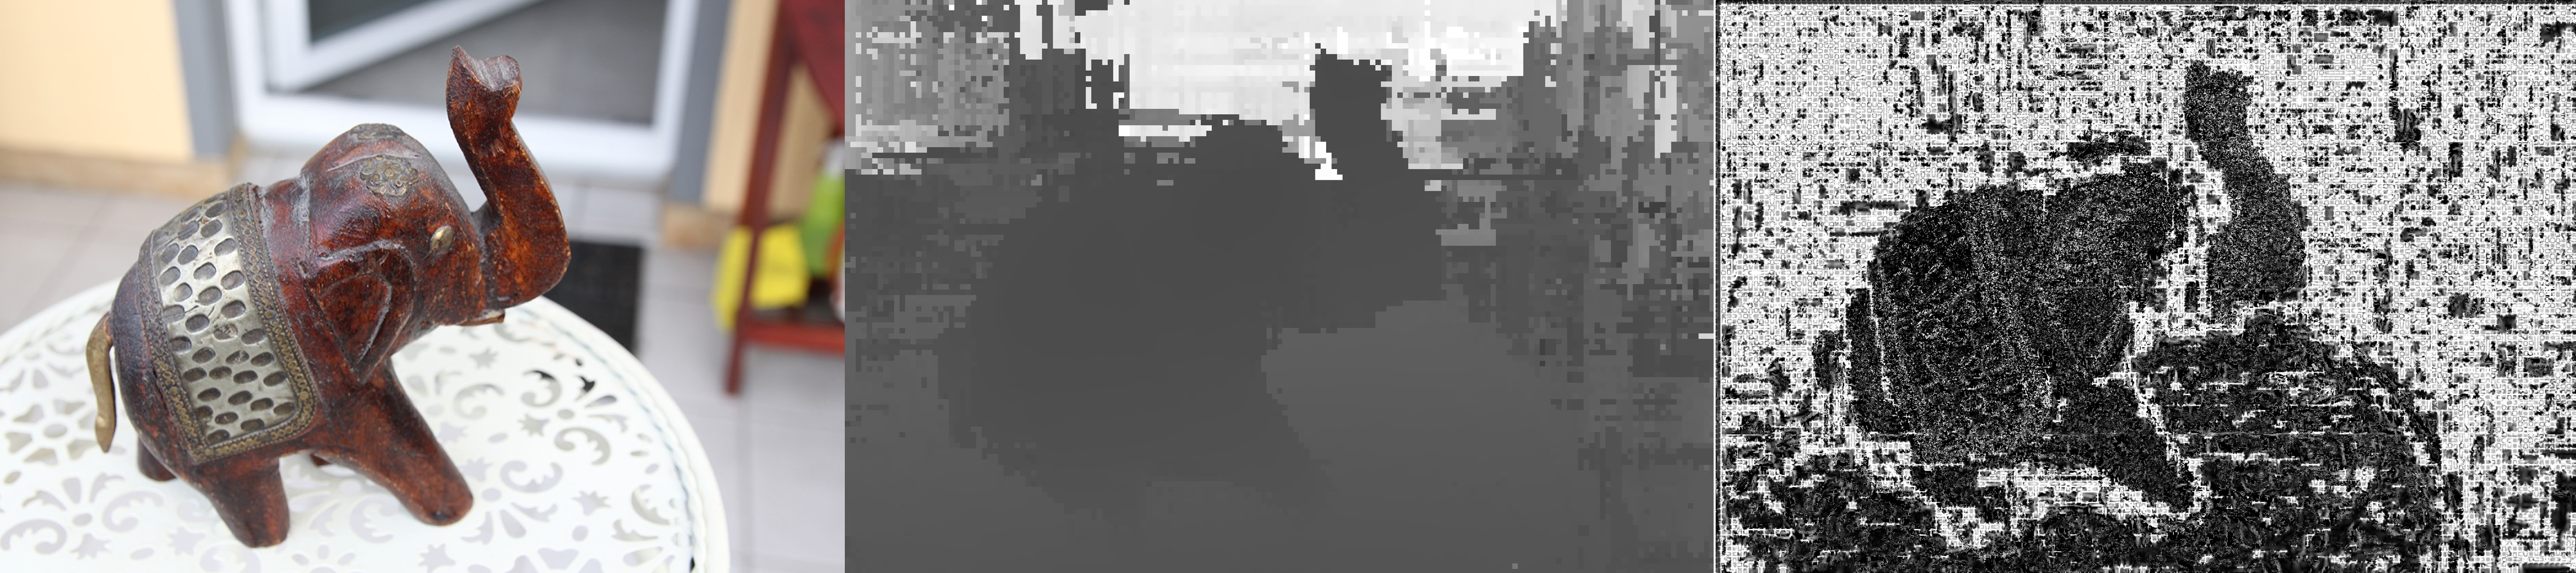
Next step of the pipeline was the generation of depth map images, which are used for a more precise meshing step afterwards. The image above shows the original photo (left), the estimated greyscale depth map (mid) and Meshrooms simulation map. The depth map reconstruction took 2 hours and 16 minutes at an image downscale factor of 4 instead of the default 2.

Before starting the meshing process in the Meshroom pipeline, a bounding box was set manually to the size of the elephant to ignore most of the reconstructed points that do not belong to the object itself but show 3d points of the flower stand or the background.
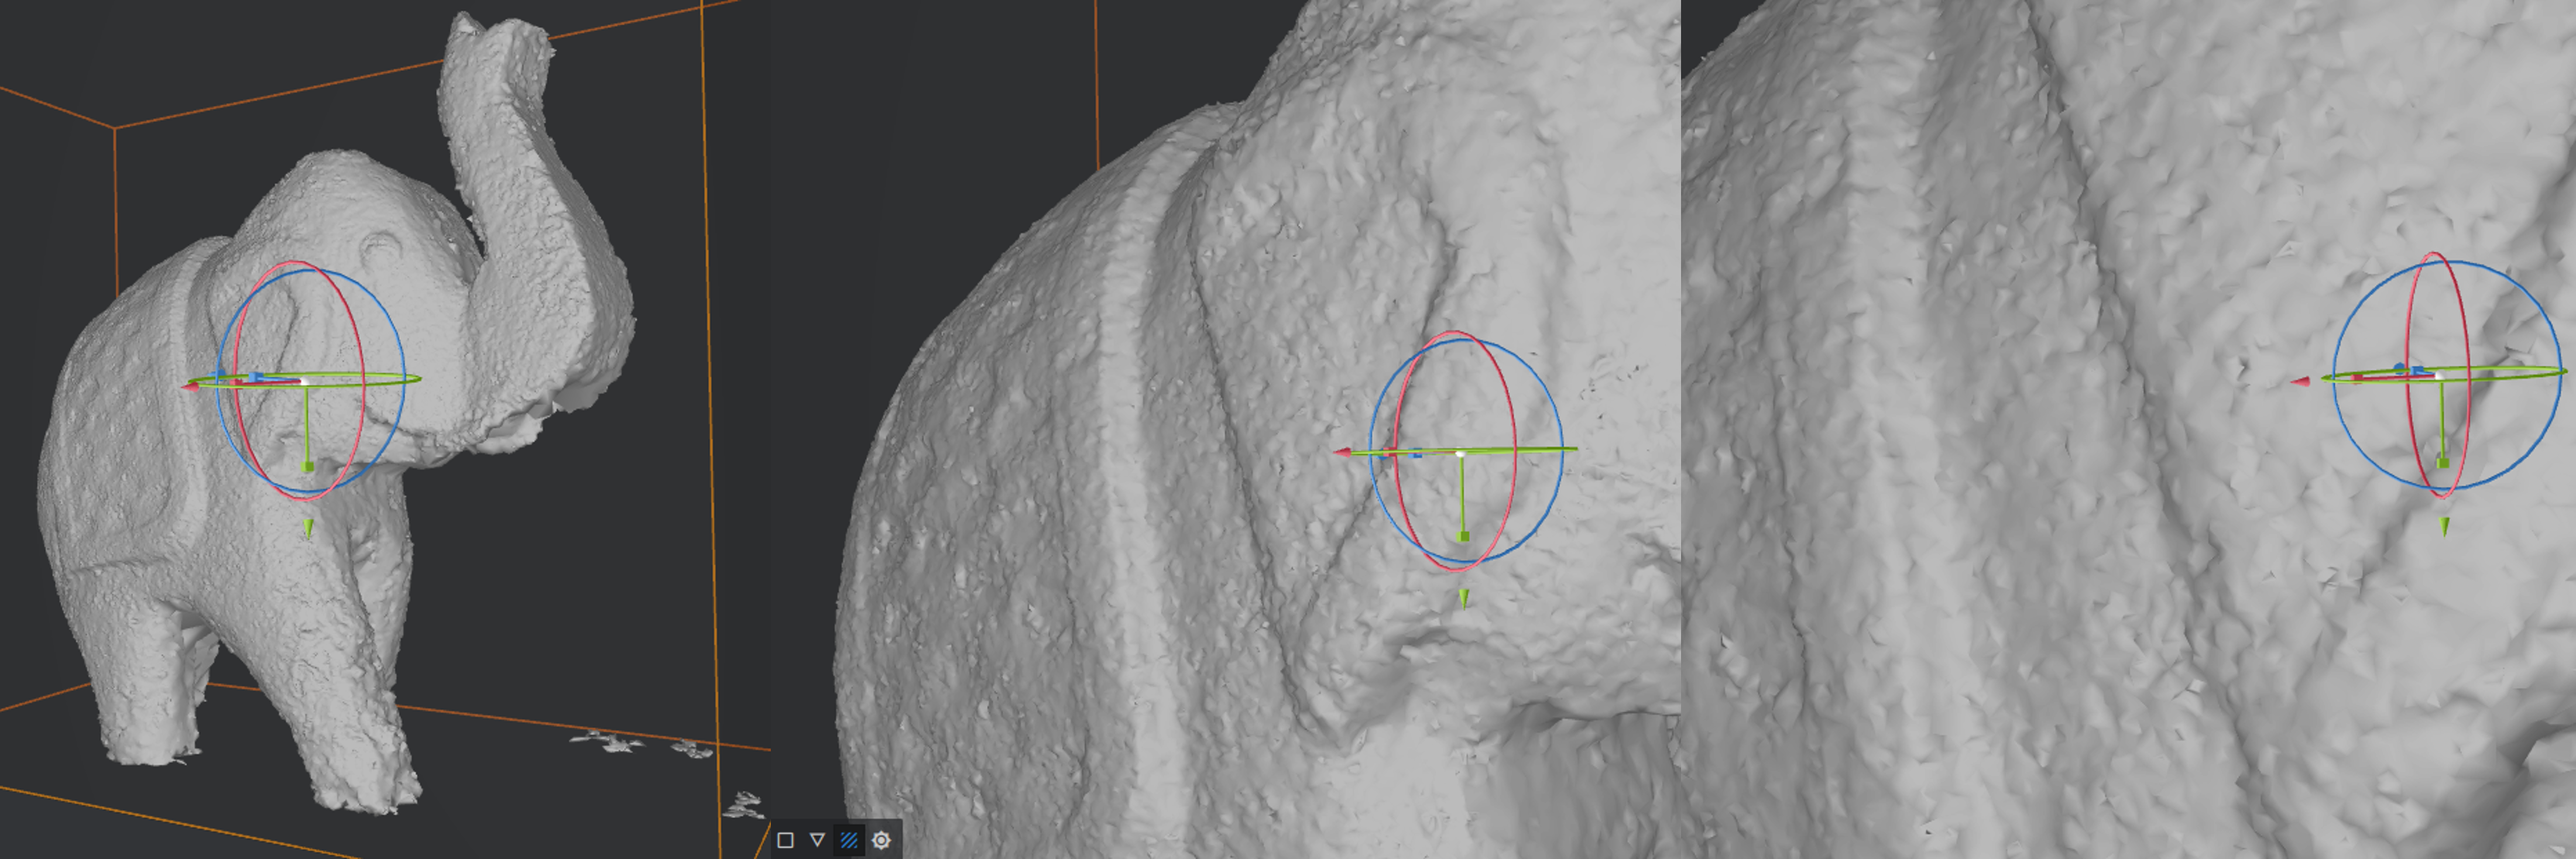
Using the standard values for this pipeline step, meshing took less than five minutes resulting in a mesh consisting of 377.446 tiangles. The result without textured shading already shows some prominent details of the object even if smoother parts of the wood clearly show some irregularities.

After generating textures in 4k² resoltion a final preview of the reconstructed object was visible in Meshrooms interactive viewport.
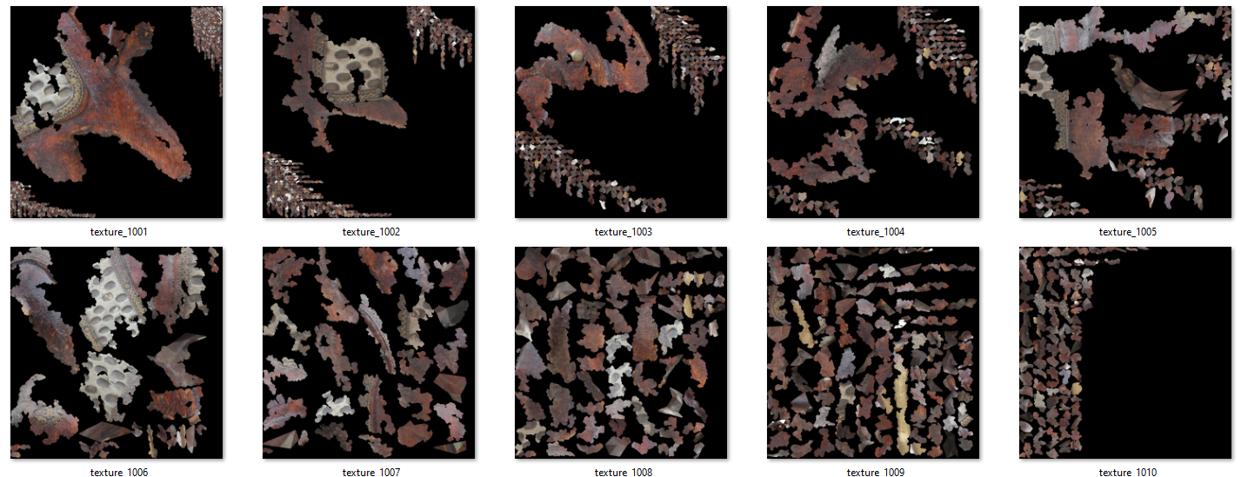
For the texturing step, the UDIM option was enabled with resulted in ten squared textures which can be used as diffuse color maps for the shader in Maya/Arnold.
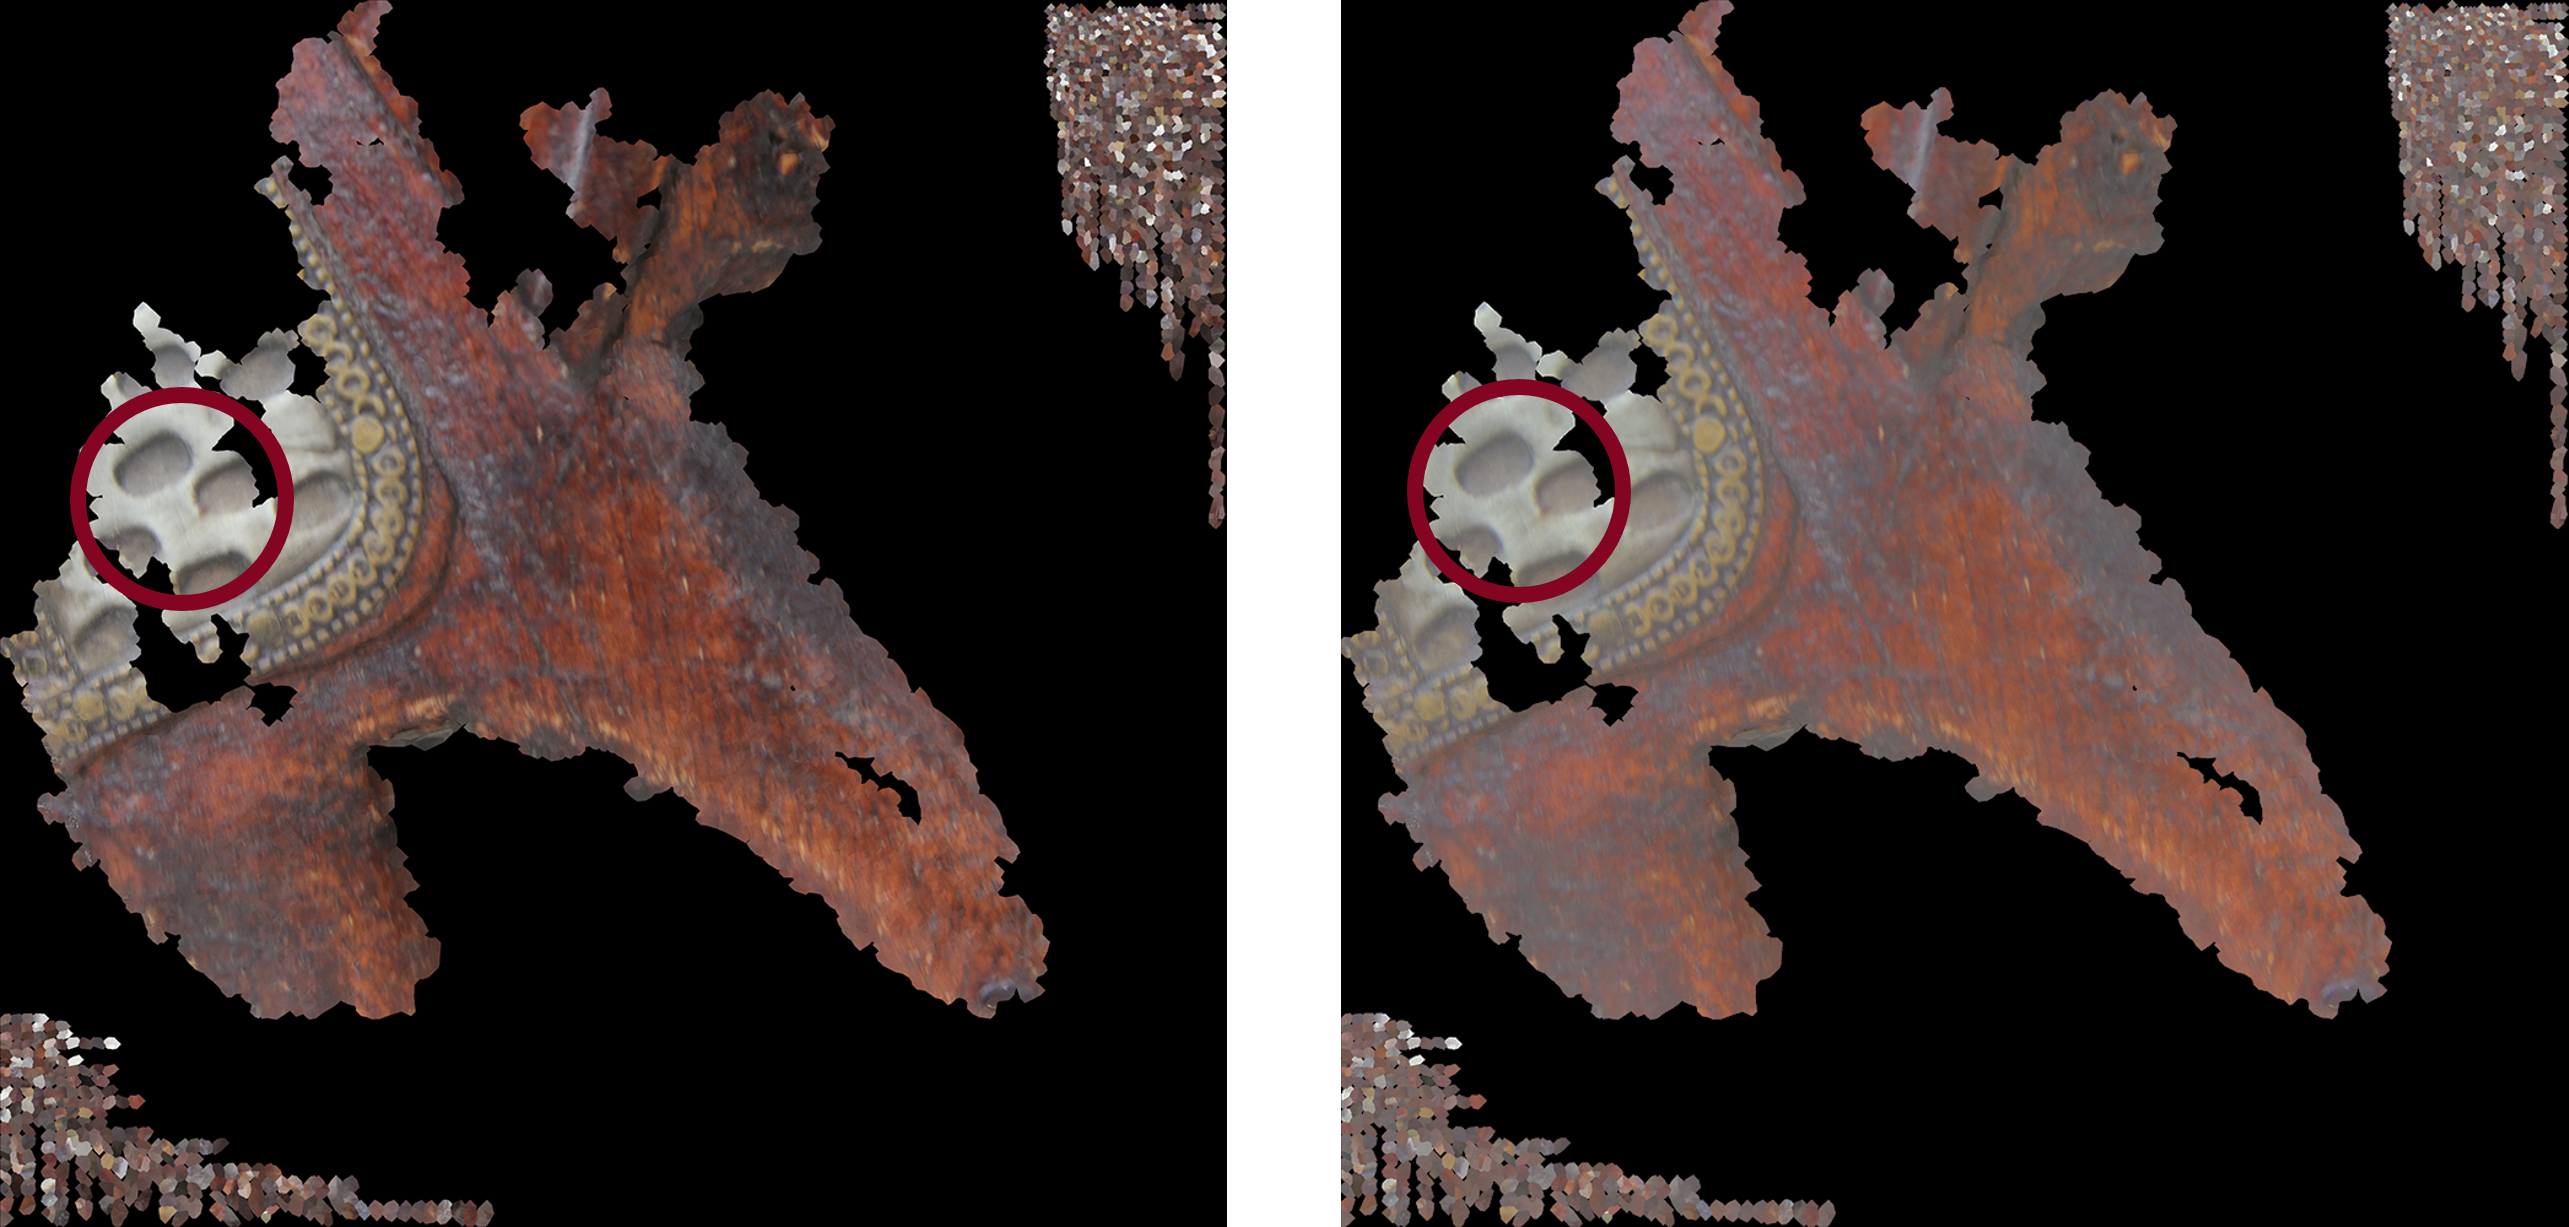
Even with shooting the photos at a cloudy and overcast sky some parts of the textures included still visible shadow artefacts. In order to reduce these shadow effects, the texture were de-lighted in Adobe Photoshop. Each image was duplicated, desaturated and inverted and afterwards blended using the soft light blending mode. Furthermore, displacement maps were calculated using ShaderMap4 (Function Displacement from Diffuse with th eparameter Auto Edge set to 0 to avoid blurred edges).
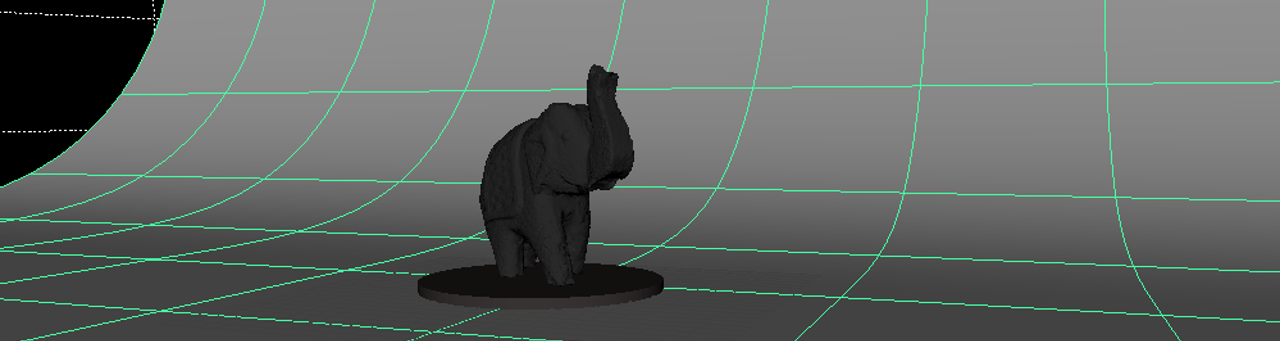
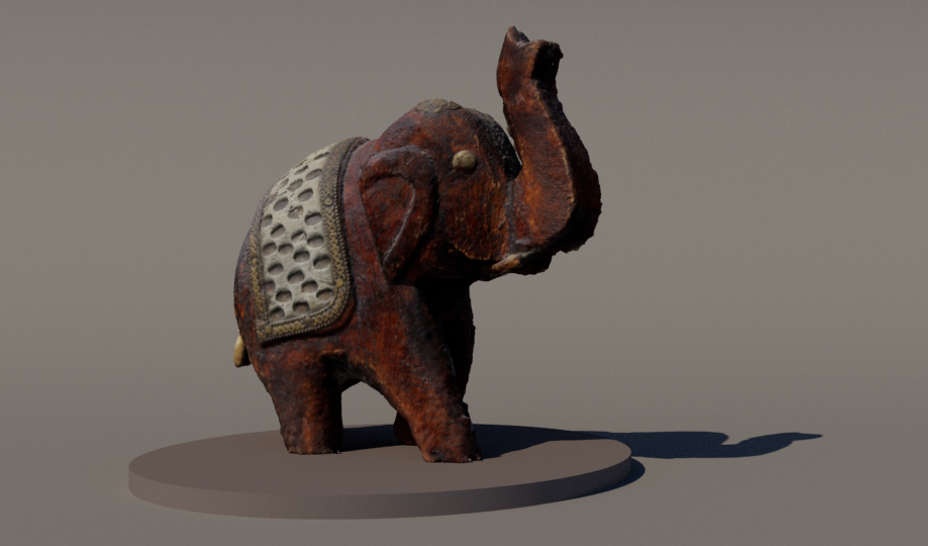
With all reconstruction results at hand, the .obj model was imported in Autodesk Maya with a simple scene setup consisting of a simple diffuse grey backdrop and a directional light for hard shadows.

In Maya a very simple material network was setup to be rendered with Arnold. The surface shader ist an aiStandardSurface using the UDIM textures created by Meshroom and de-lighted in Photoshop. No secondary textures were used for the surface description – specular reflection was globally set to 10% white (weight 0.1). Furthermore, the shading group makes use of a displacement shader using the corresponding textures created by ShaderMap4.
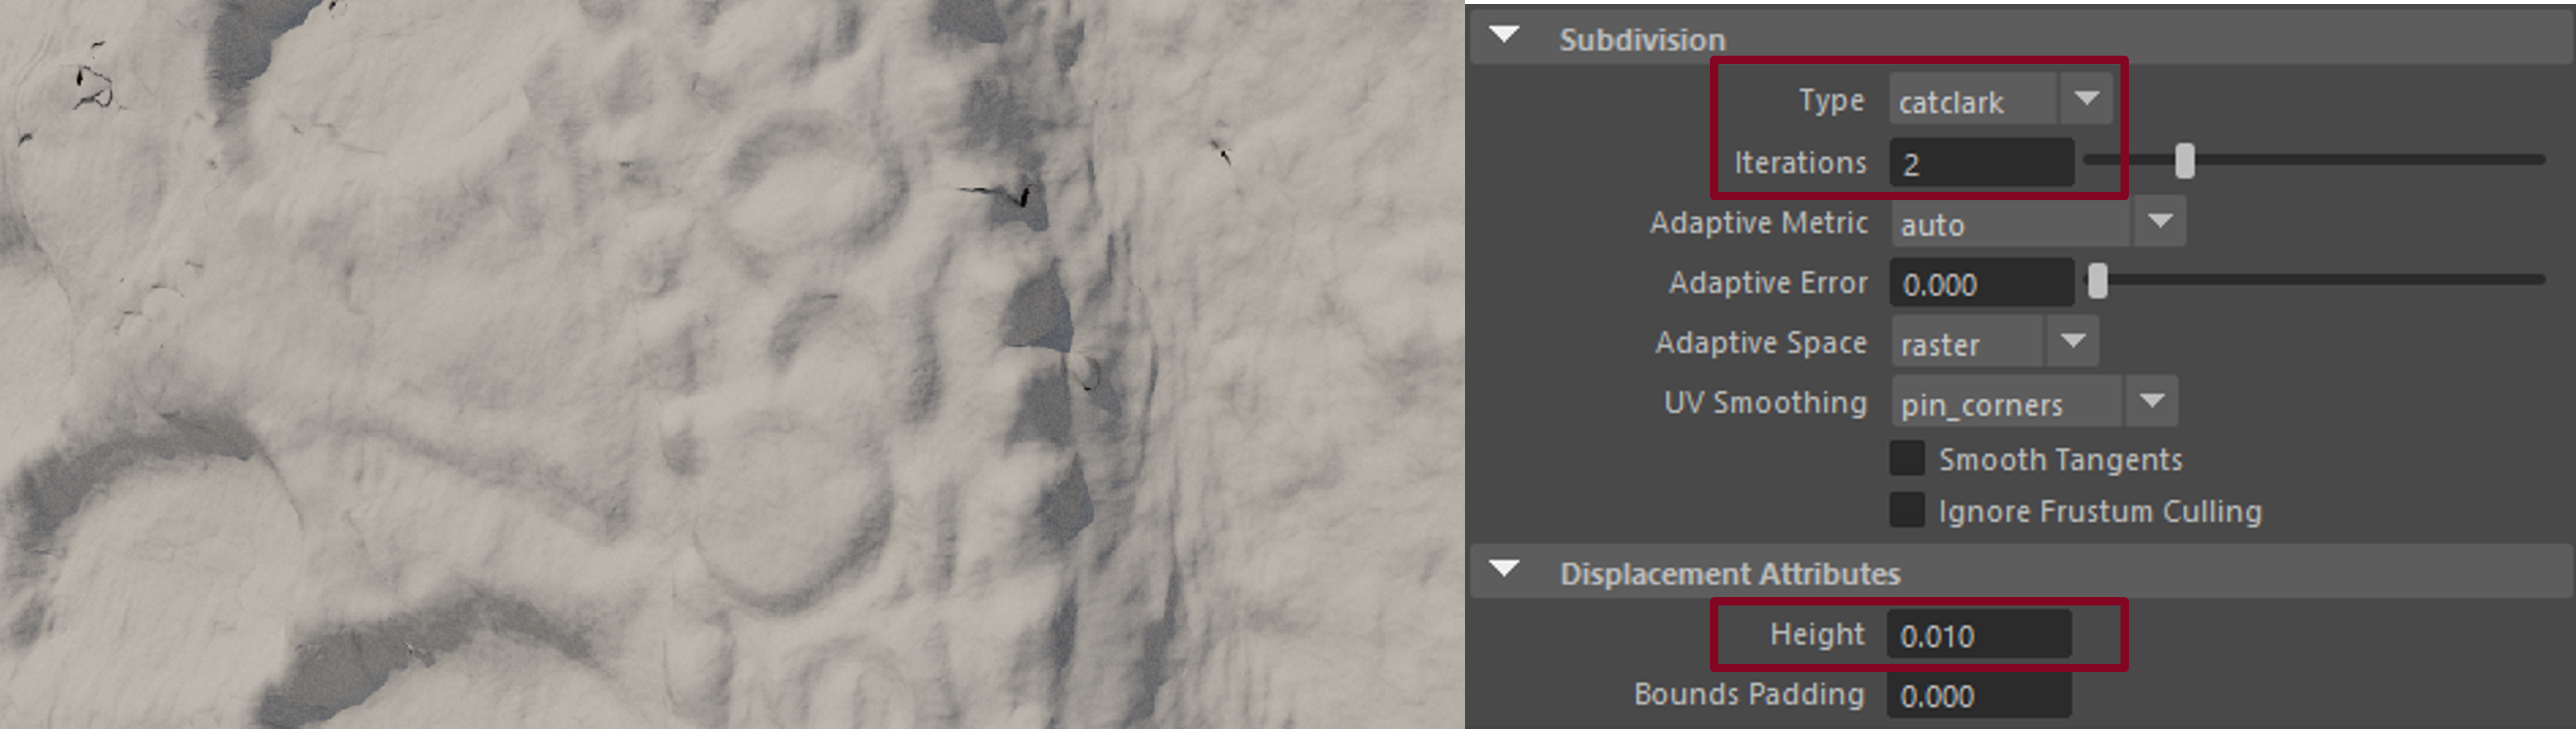
The displacement parameters were set for the elephant mesh in the related Arnold section of the shape node. As displacement type the Catmull Clark algorithm was chosen, the resulting height was set to 0.01 to show only slight displacements during rendering.

The subdivision results were checked using the Debug Shading | Wireframe option directly within Arnolds render view. Finally, the Catmull Clark method with two iterations were used.
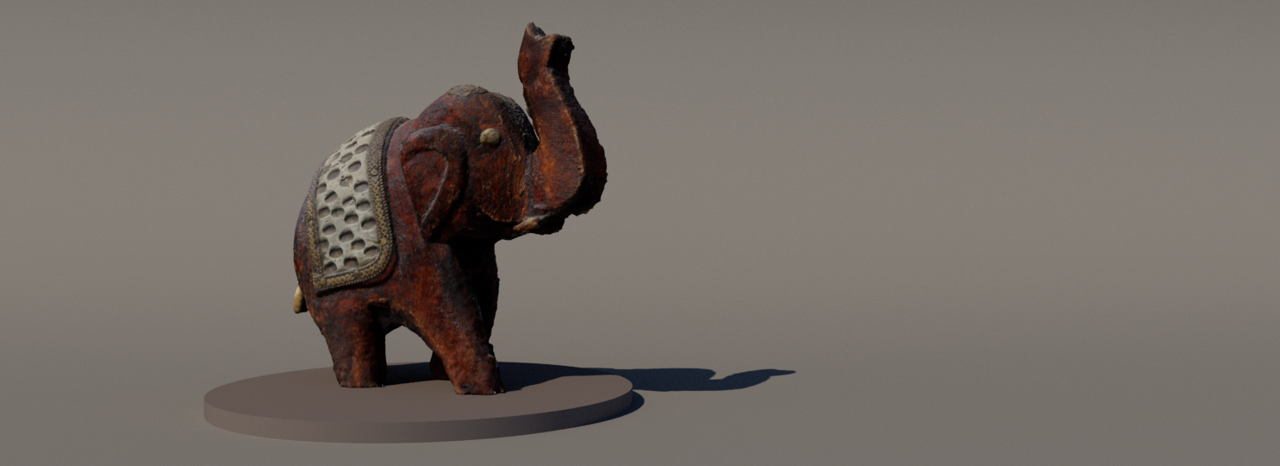
Finally, the reconstructed elephant was placed onto a low cylinder which is animated within 96 frames (4 seconds at 24 fps) for a full 360 degrees turntable. To ensure a continuous rotation especially when looping the animation and to avoid acceleration and braking at each turn, the y-axis rotation was linearized in Mayas Graph Editor.

