Architectual Visualization done with Autodesk Maya 2020 and Chaosgroup V-Ray 5 for lectures “Advanced Rendering” during summer semester 2020.
Introduction
Inspiration for this project was a 3d warehouse model of a simple cube shaped building. The model was converted to fbx uising Sketchup and afterwards imported into Maya. Only few modifications of the mesh and its UV mappings were necessary. The mood for this renderings were inspired by the Pueblo Revival Architecture of the 1920’s and 1930’s and its modern interpretations in the 21st century.

Shading
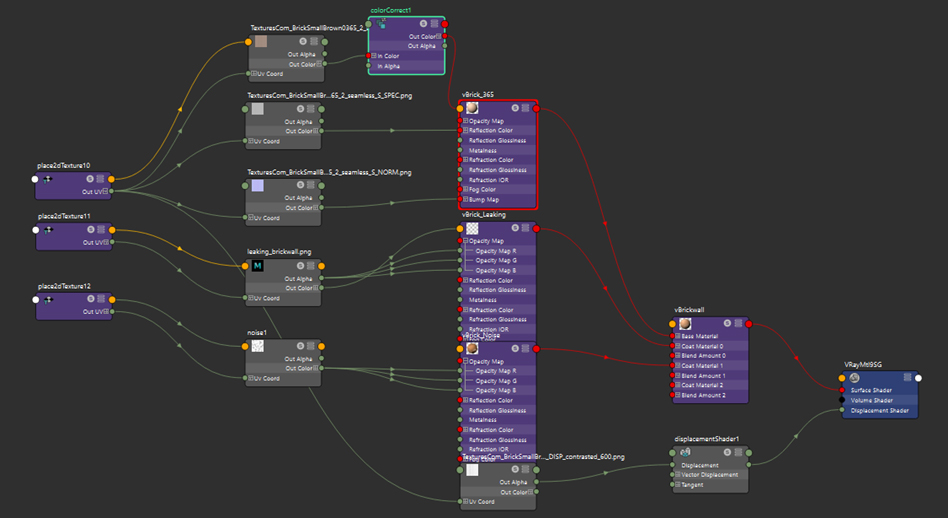
The building model itself consists of six different materials only: Brick wall, concrete floor, wooden floor, window frames, door frame and window glass. Here, only the main shader of the model, which is obvioously the brick wall shader, is explained. Base is a texture (BrickSmallBrown0365) downloaded from textures.com. Additional maps such as normal map, dispacement and specular map are generated with ShaderMap 4.
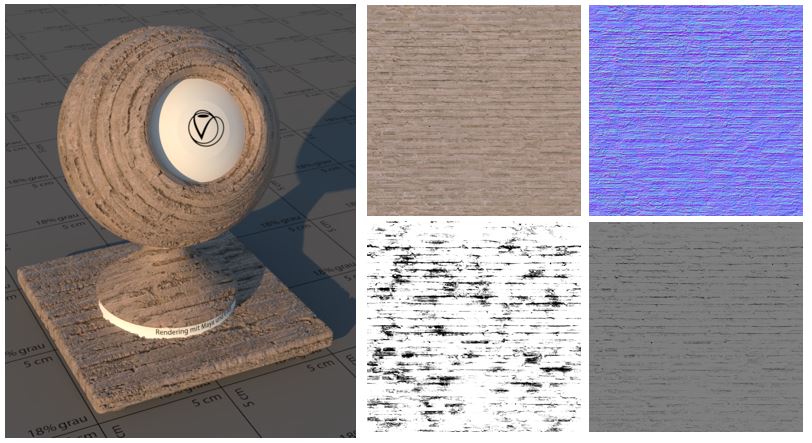
To add dirt at the edges of the walls a leaking texture (DecalsLeaking0259) has been used as the first additional layer in a VRayBlendMaterial.

A second layer is used to create brightness differences on the wall. A Maya Noise node is used as the opacity driver for the diffude color map of the brick wall.

Finally, the shader consists mainly of a VRayBlendMaterial with leaking and brightness noise layers and a displacement for the brick structure.
The final material was tested against reference photos taken from the internet.

Assets
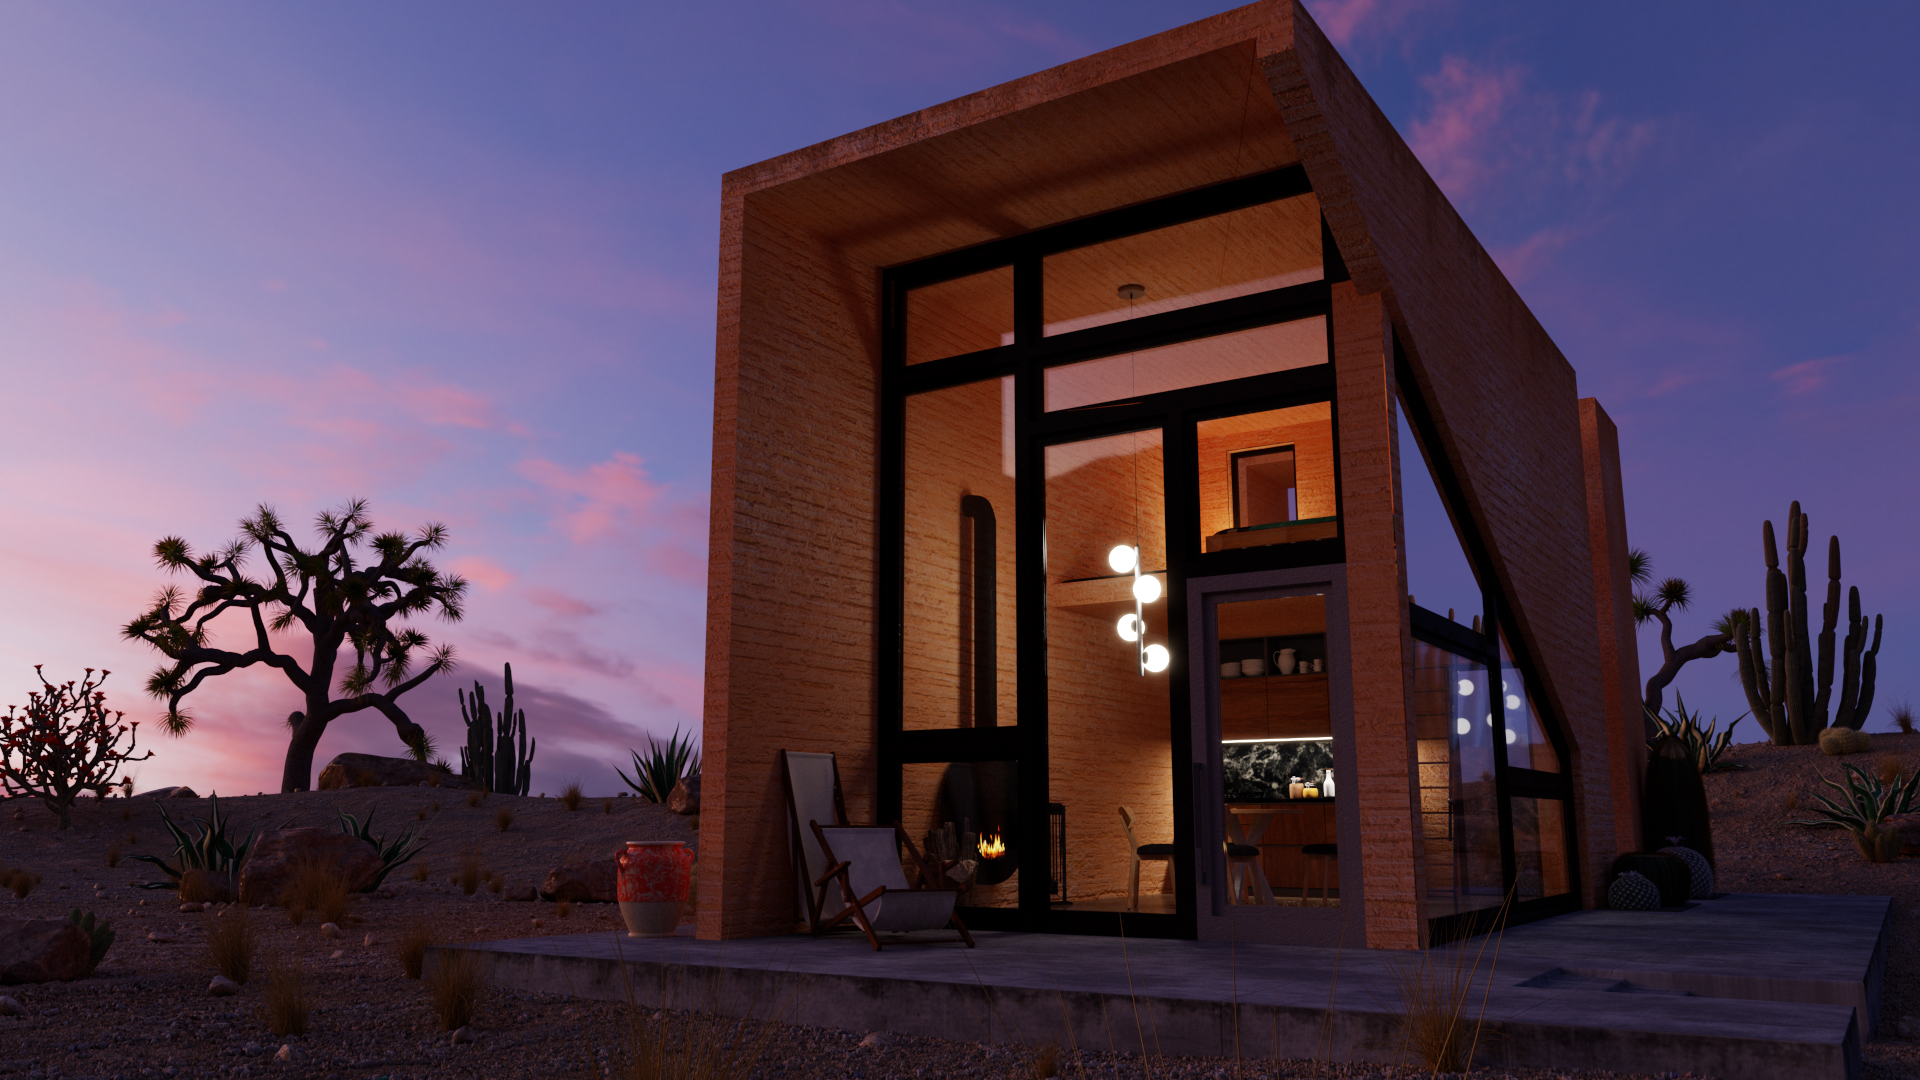
To breathe life into the building, several assets have been placed such as inside the house a bed on the hut’s gallery, a kitchen with dishes, a table and chairs, a fireplace and outside the hut a painted clay vase and two deck chairs.

Ground
For modeling the ground a pPlane 80x80 m² with 80x80 subdivisions was generated. The wave structure was added with a Texture Deformer (Texture: Noise, Strength: 420). The micro structure is calculated by a displacement node using the AO texture with enhanced contrast and a high count of subdivs (128) to ensure the details to be rendered by V-Ray.

To hide the horizon line, some sculpting was necessary behind the building model.
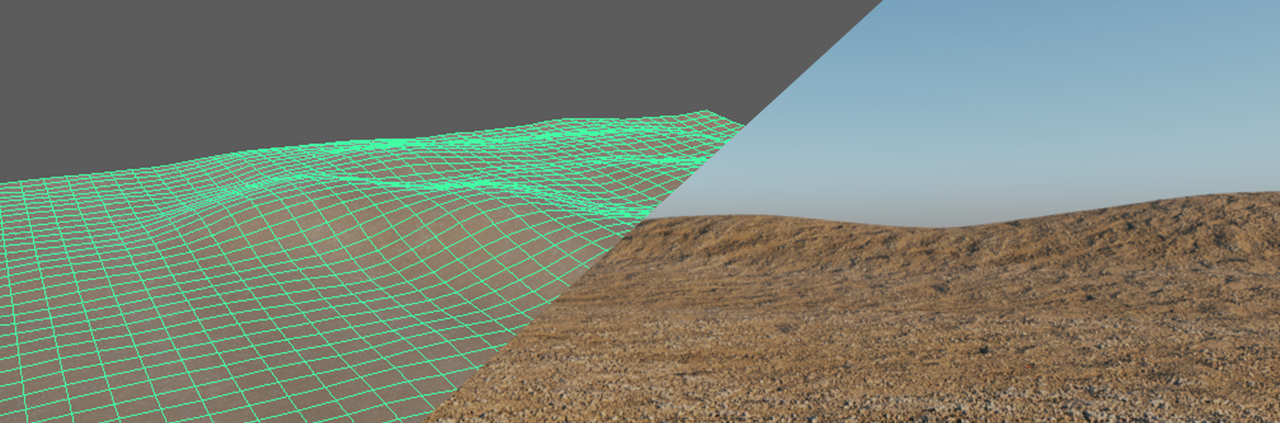
Twenty different pebbles (generated with the pretty old rockGen.mel script under MIT License) were scattered on the ground using a MASH network in Maya.
Some larger rocks were placed interactively around the hut.
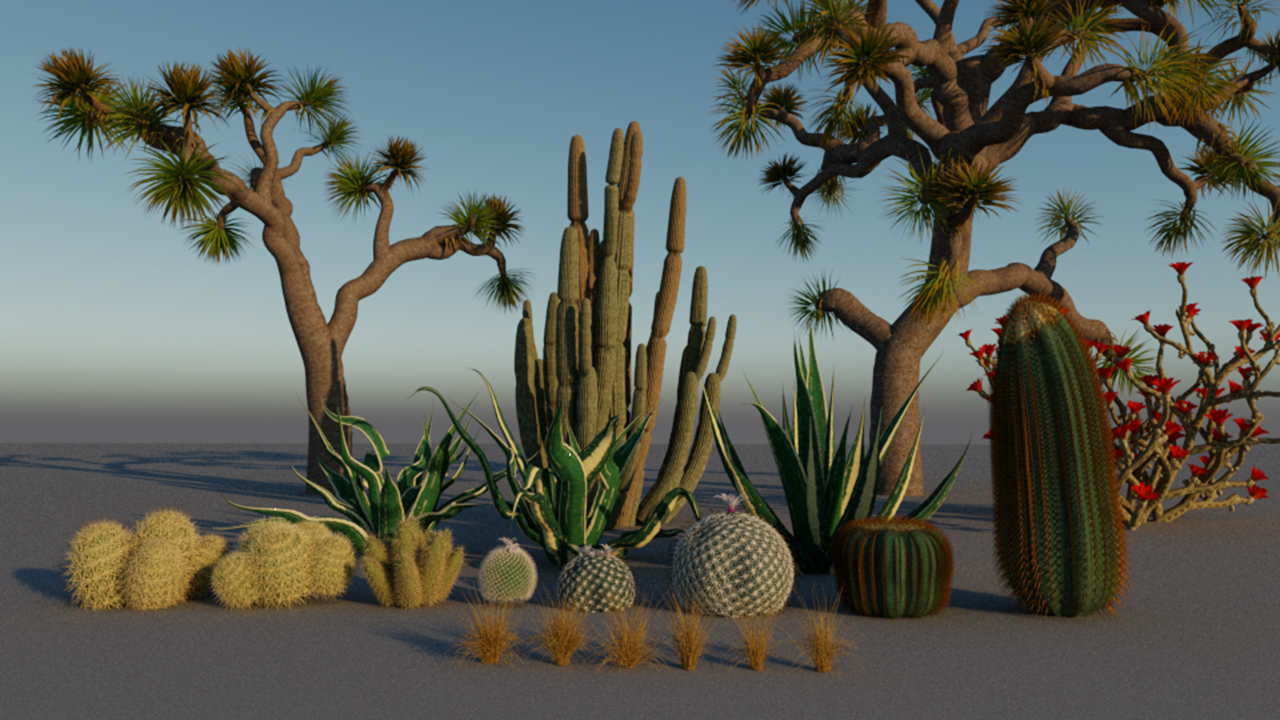
Vegetation
A second MASH network was created to scatter some clumps of prairie grass. All other vegetation such organ pipe cactus, strawberry hedgehog cactus, agaves, Joshua trees and others are taken from the Xfrog Southwest library and reshaded for V-Ray.
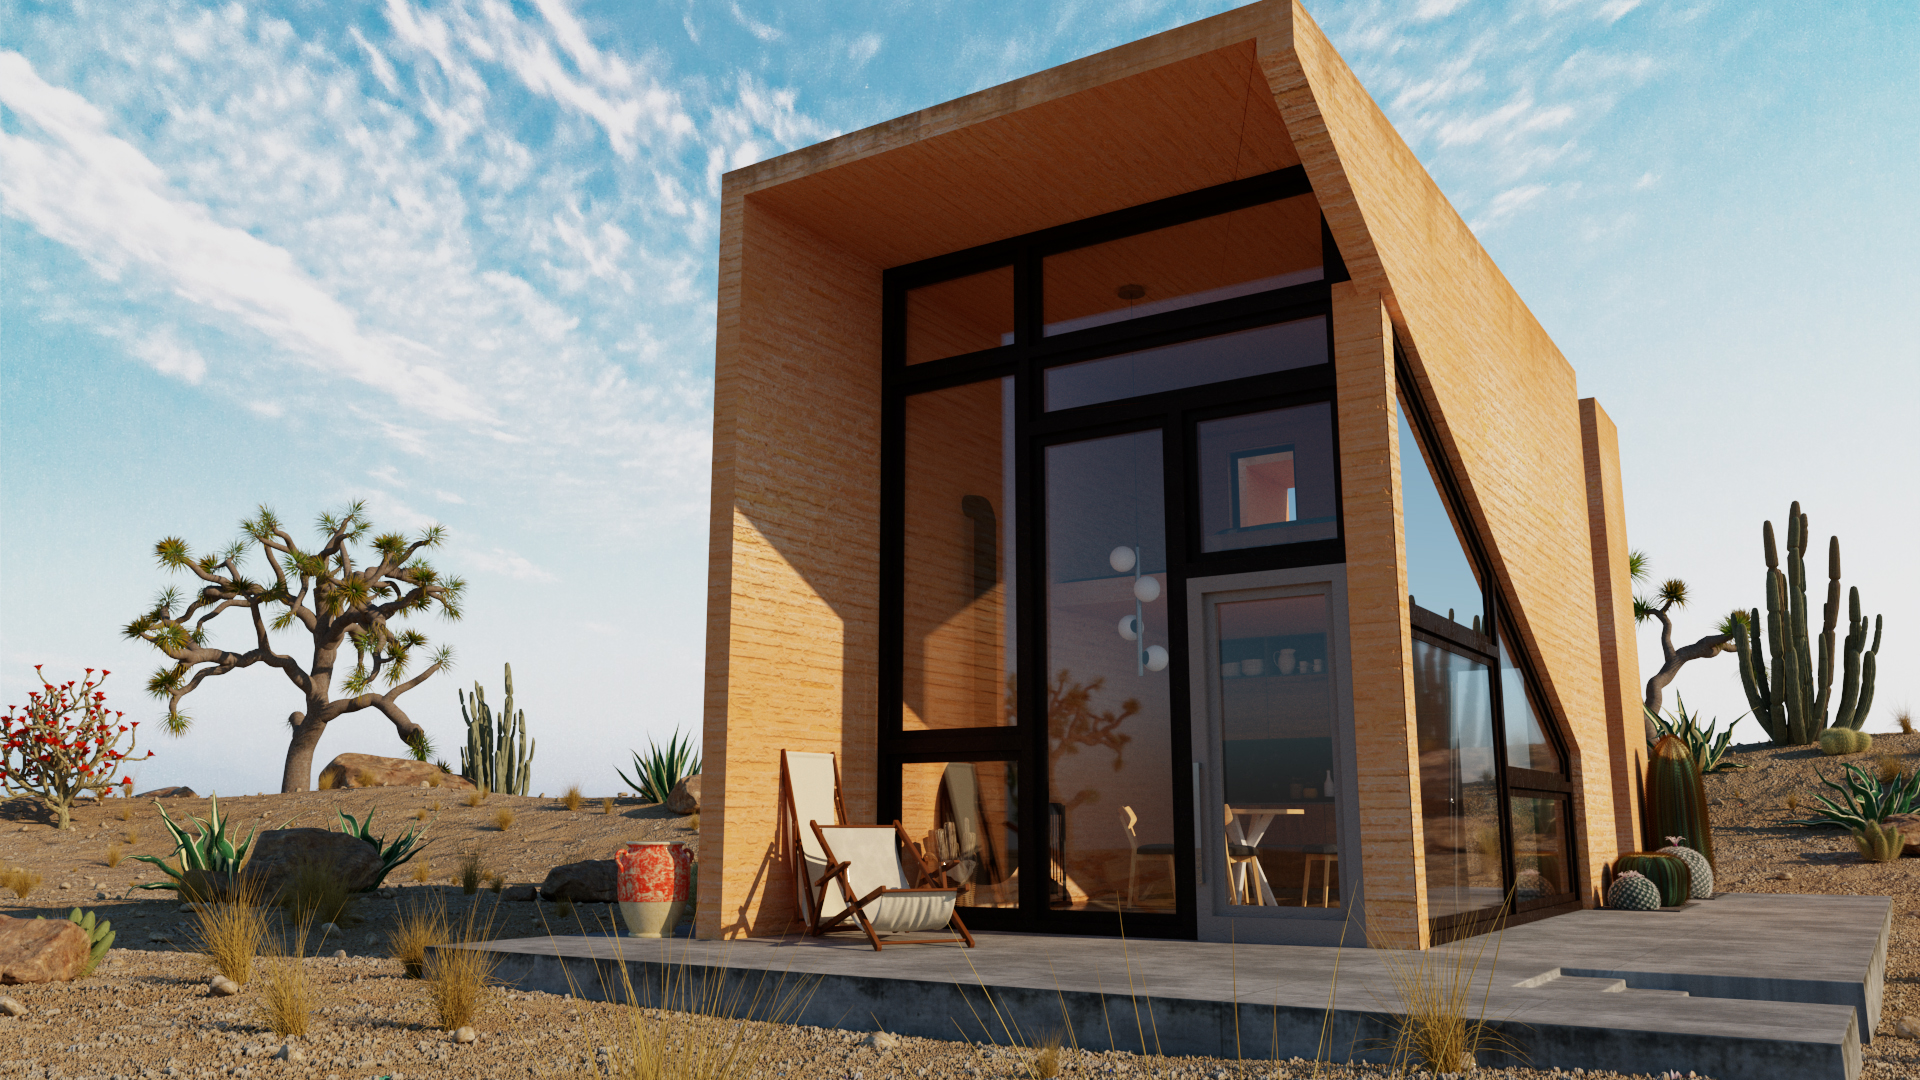
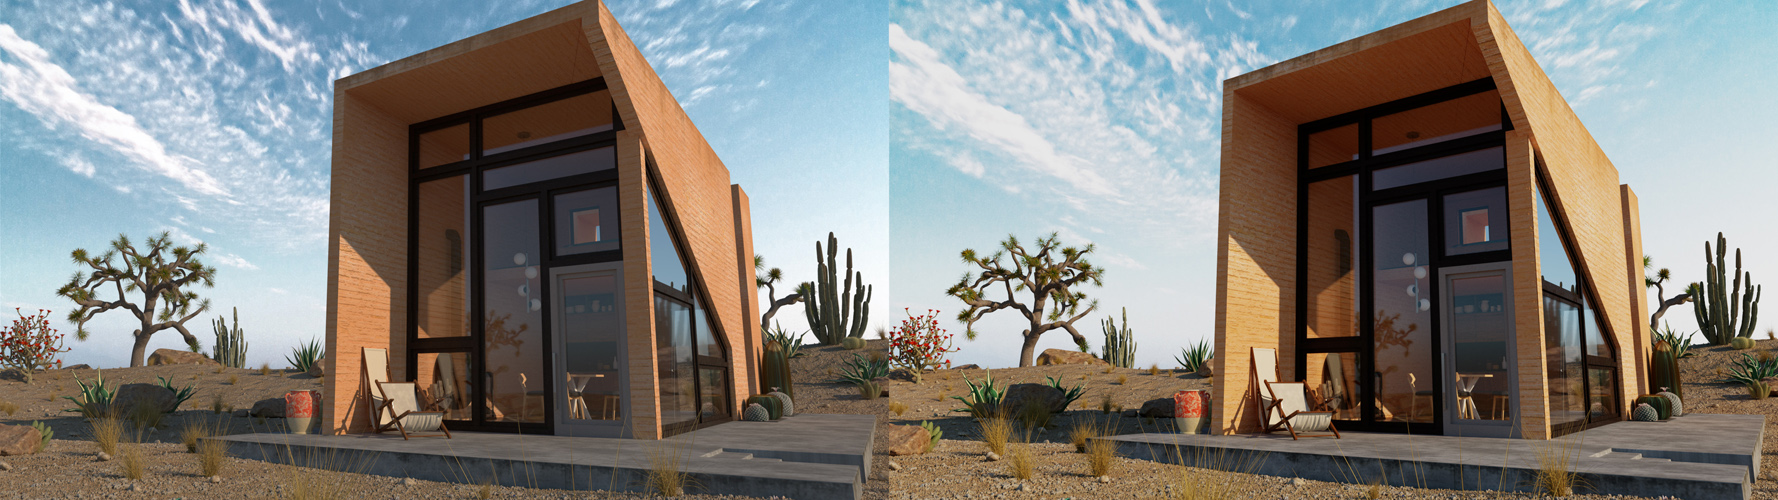
Lighting
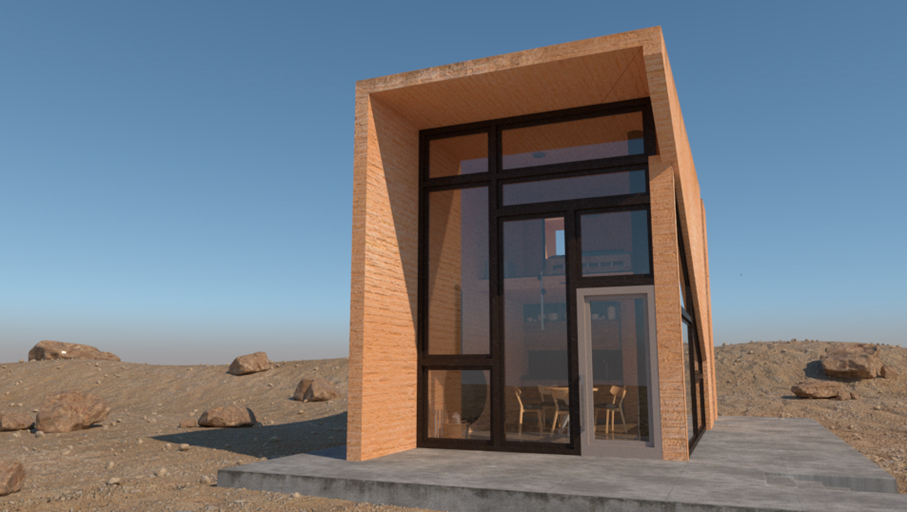
The daylight scene rendering is illuminated by the VRay Sun&Sky system, which ensures the typical hard shadows unter the mexican desert sun.
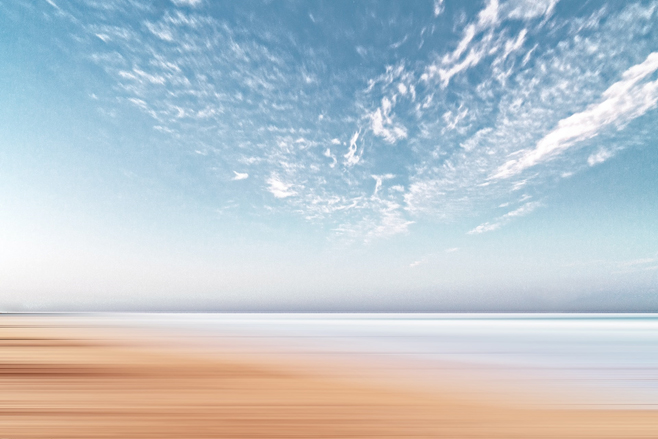
To add some clouds to the sky a backplate was used as cameras imagePlane found at unsplash.com.
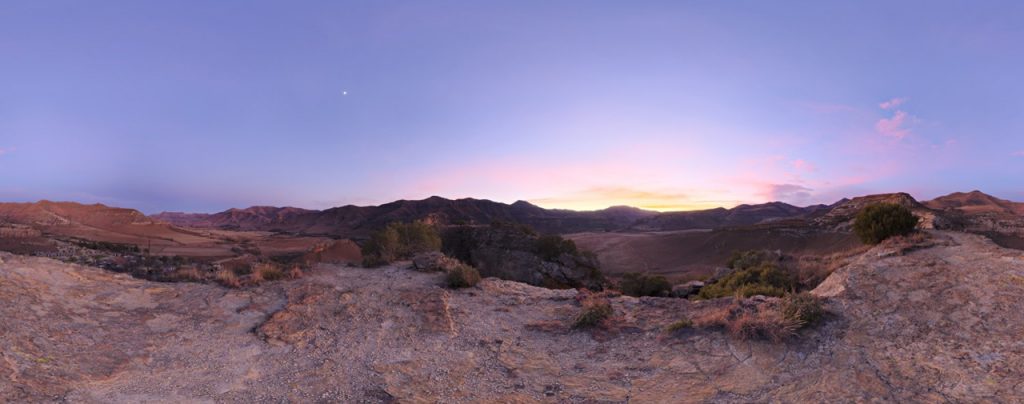
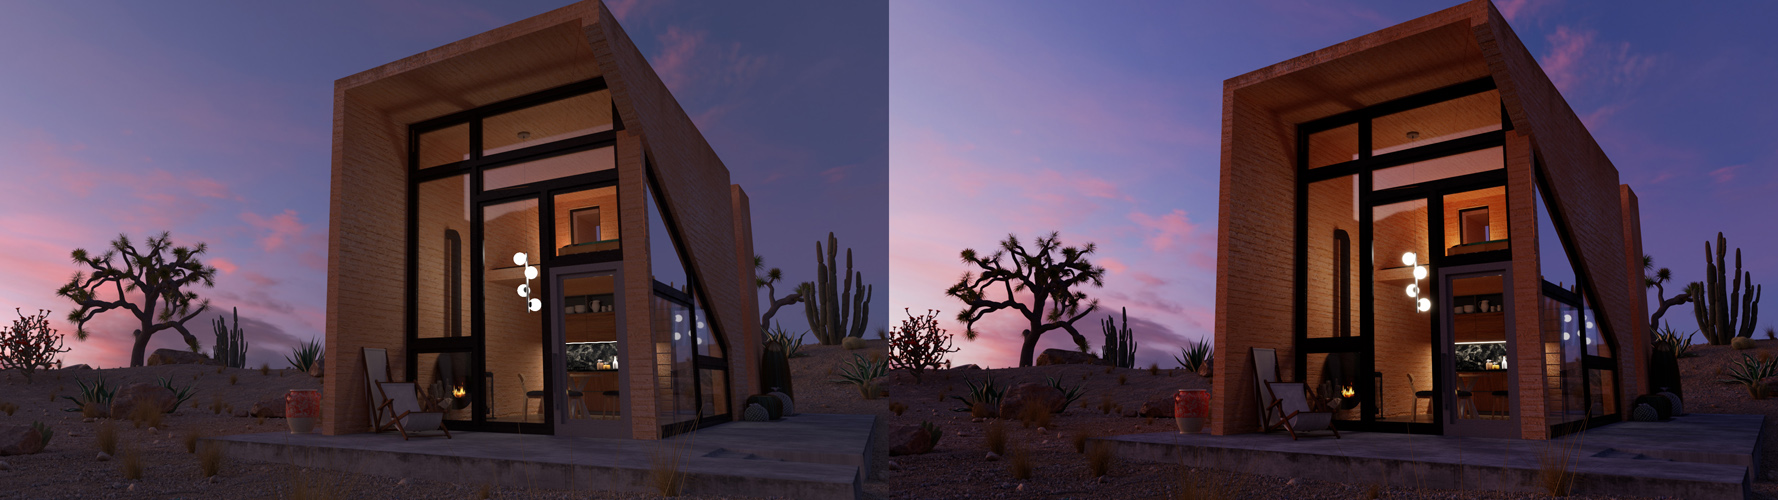
For the evening scene a HDRI was used for Image Based Lighting (IBL) . The full spherical panorama “Kiara 1 Dawn” with a dynamic range of 10 EVs by G. Zaallink was downloaded from hdrihaven.
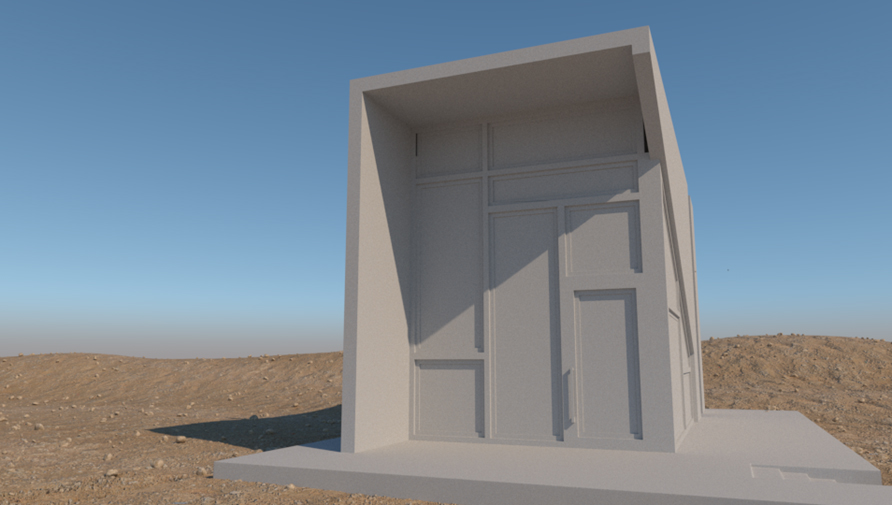
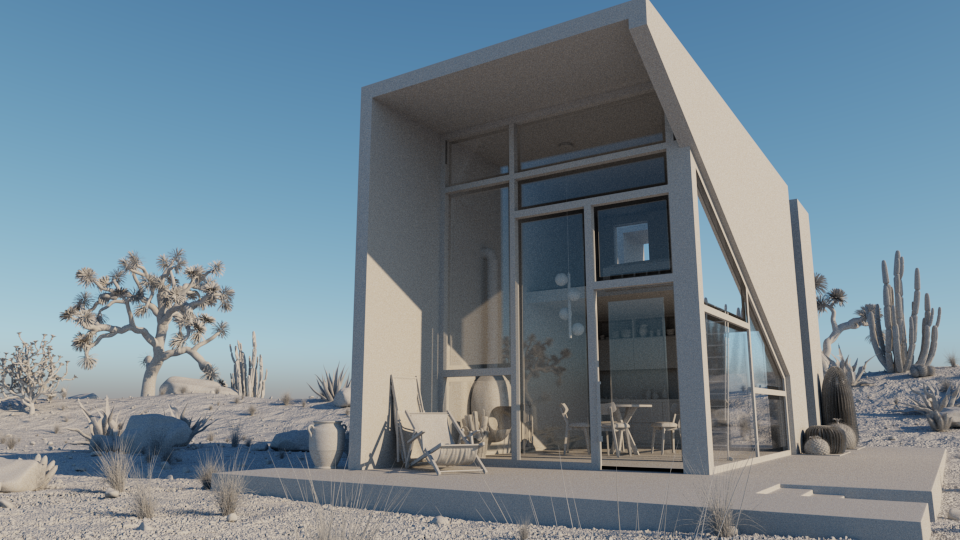
For light balancing purposes the Maya Render Setup windows with a new Render Layer was used adding a material override to a collaction containing all meshes of the scene.
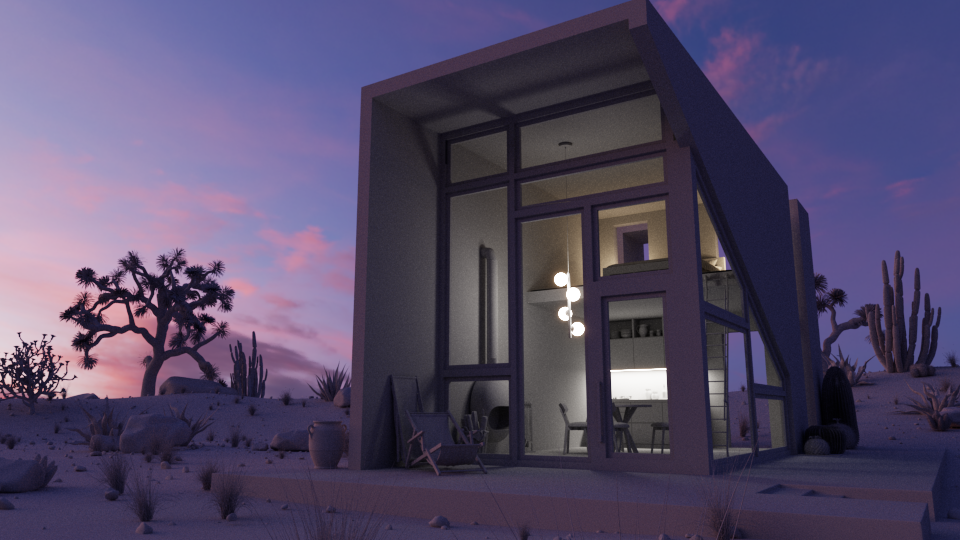
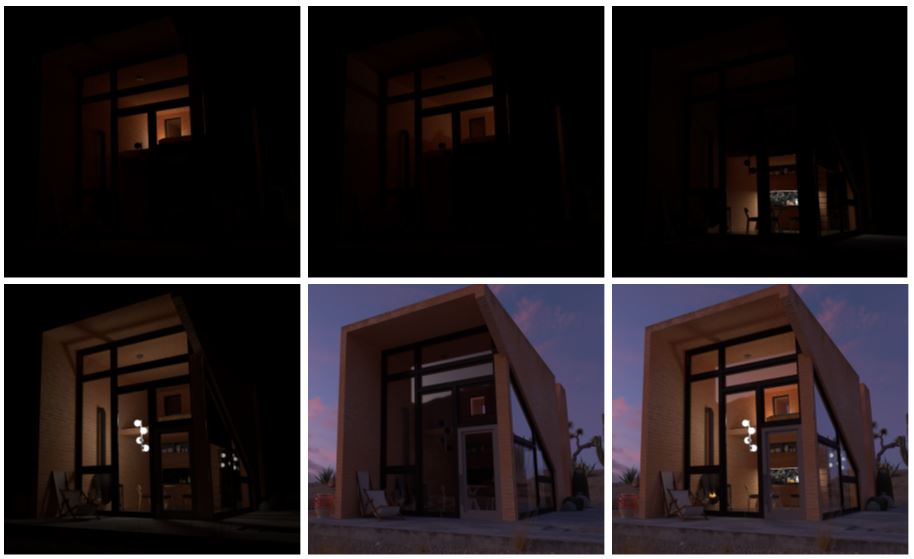
With the new LightMix Render Element V-Ray offers a simple possibility to visualize and adapt the light contribution of all single light sources individually.
Render Settings
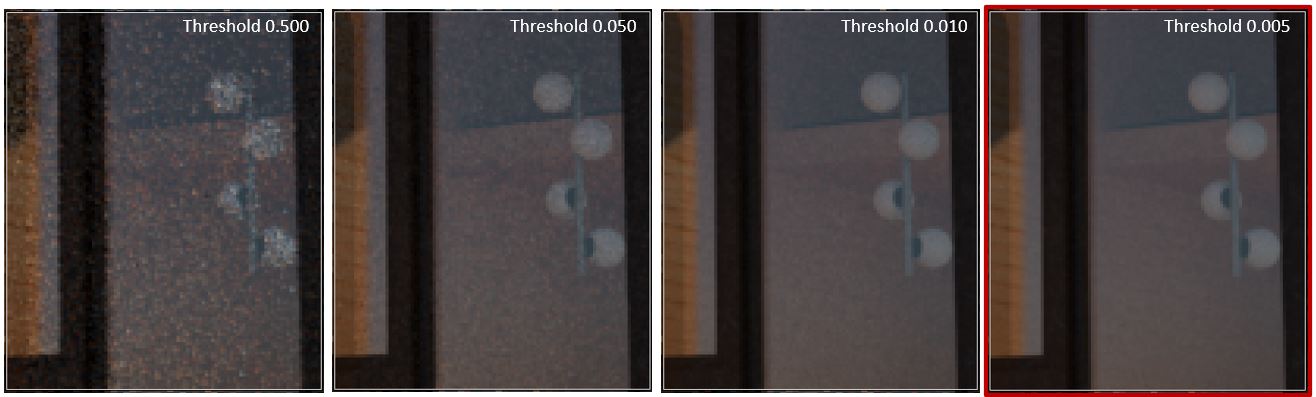
Due to the fact that Noice or Optix eliminate too much of the details in the environment, high sample rates had to be used. First step was to determine the desired noise level. With extremely high max subdivs (1000) the renderer is forced to cancel sampling using the samples threshold only. A typical location prone to noise are window areas. Here, a threshold of 0.005 lead to a sufficient noise level.
Afterwards the parameter Max. Subdivs was adapted to optimize render times. Therefore, the maximal subdivs were increased until the render element sampleRate showed blue and green pixels mainly. This was e.g. the case at 20 max. subdivs for the daylight scene.

Post Production
All post production steps were done using only the new VRay 5 Frame Buffer possibilities.
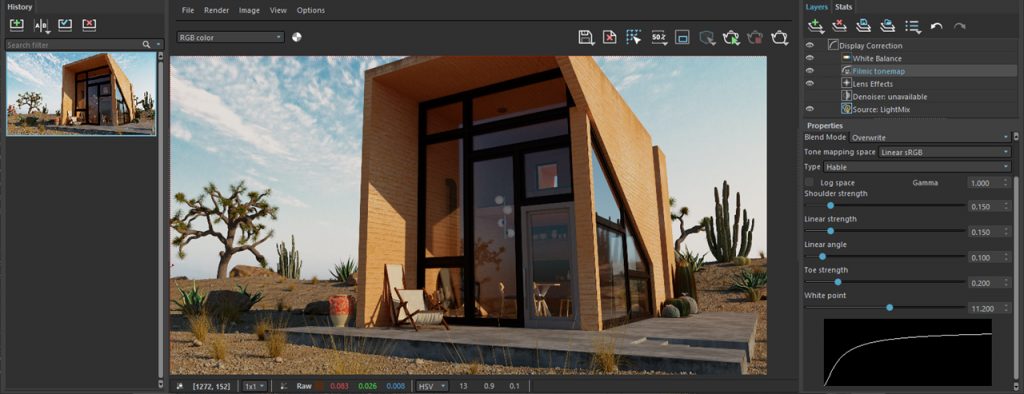
Only minor changes such as filmic tonemapping, contrast enhacing curves and lens effects have been applied to the renderings.
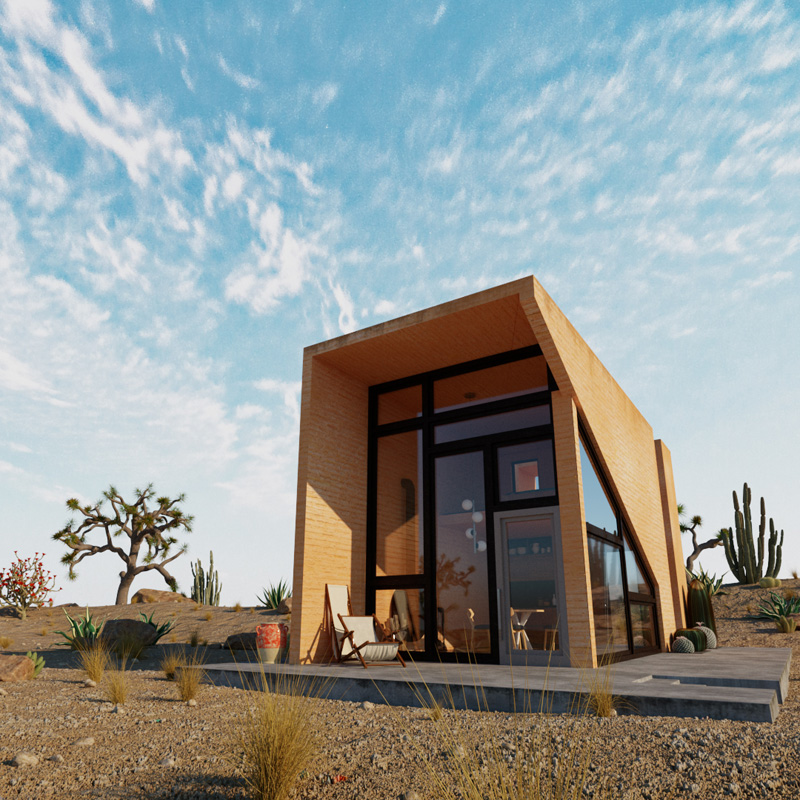
Instagram Rendering
Last but not least a new camera perspective was created with a quadratic image output for social media posts such as Instagram.
