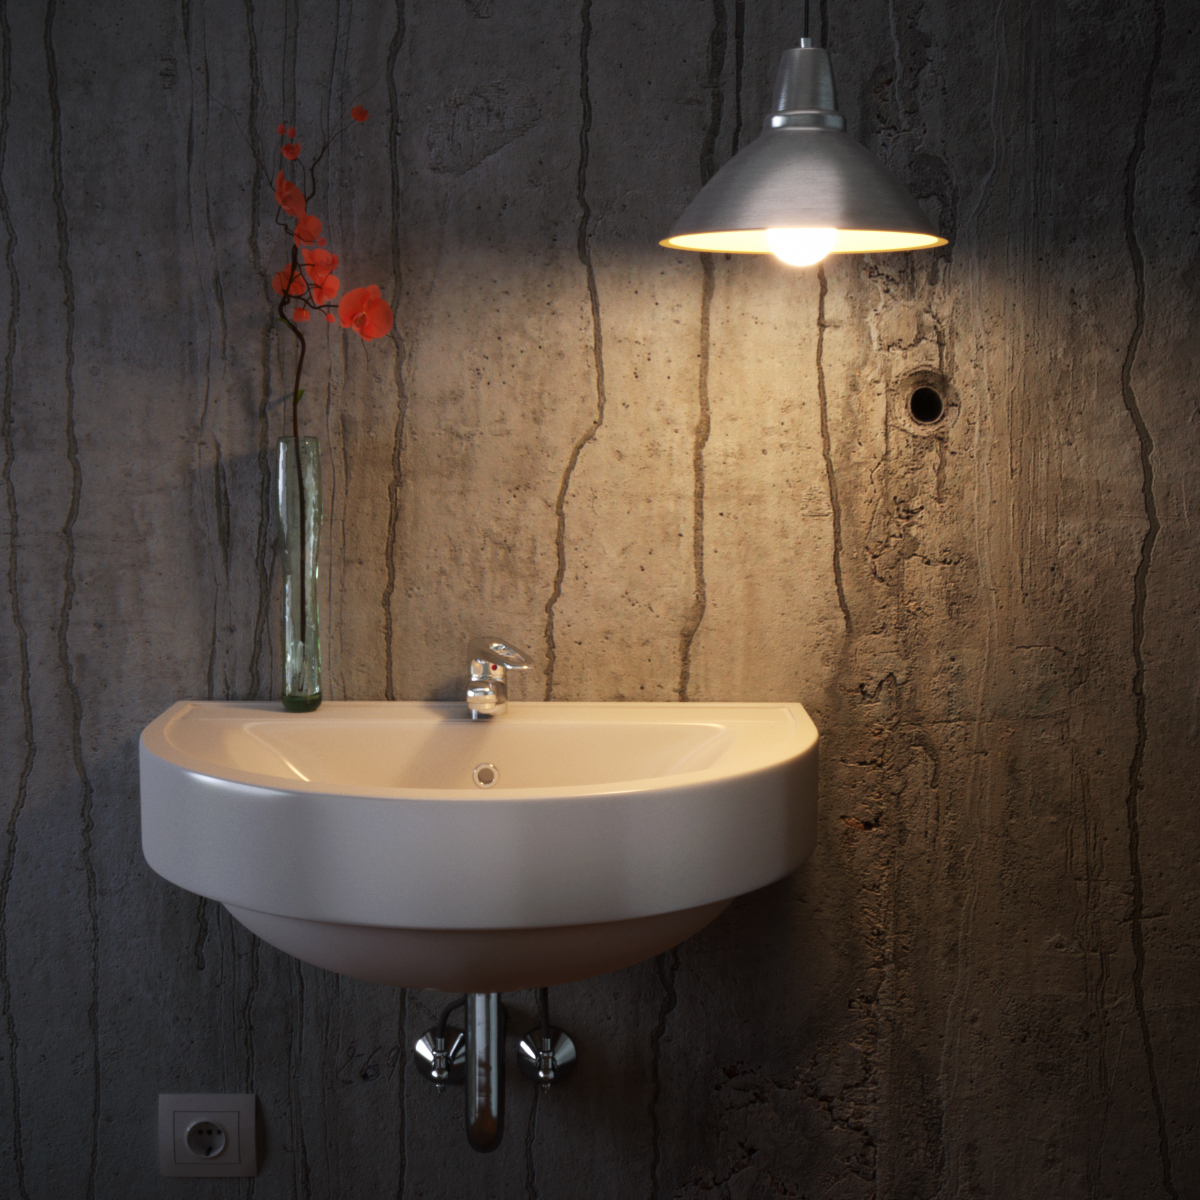
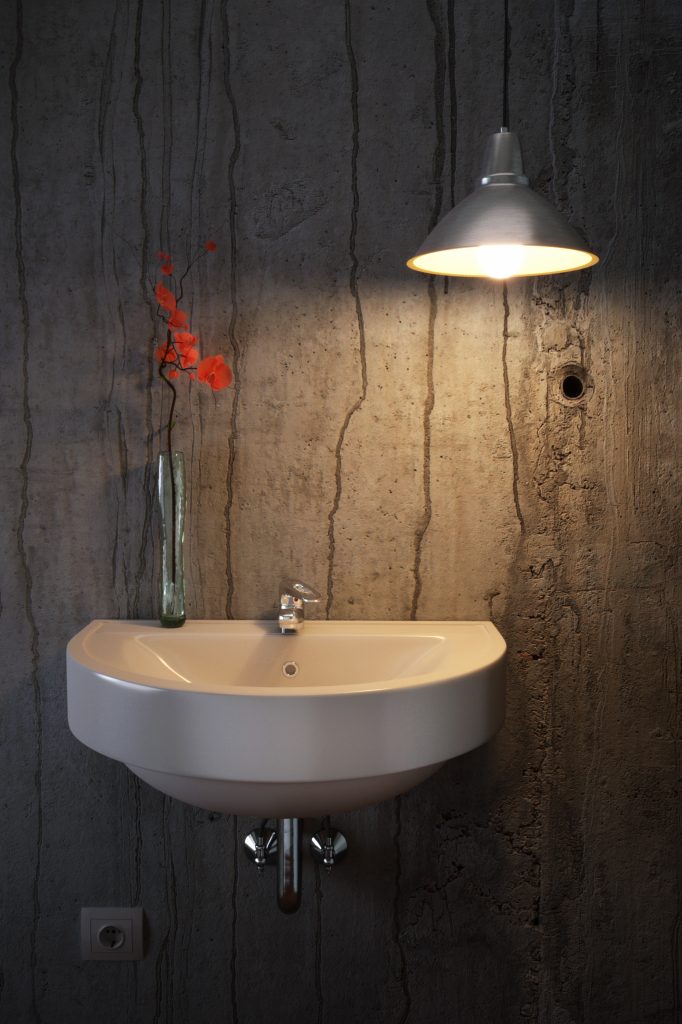
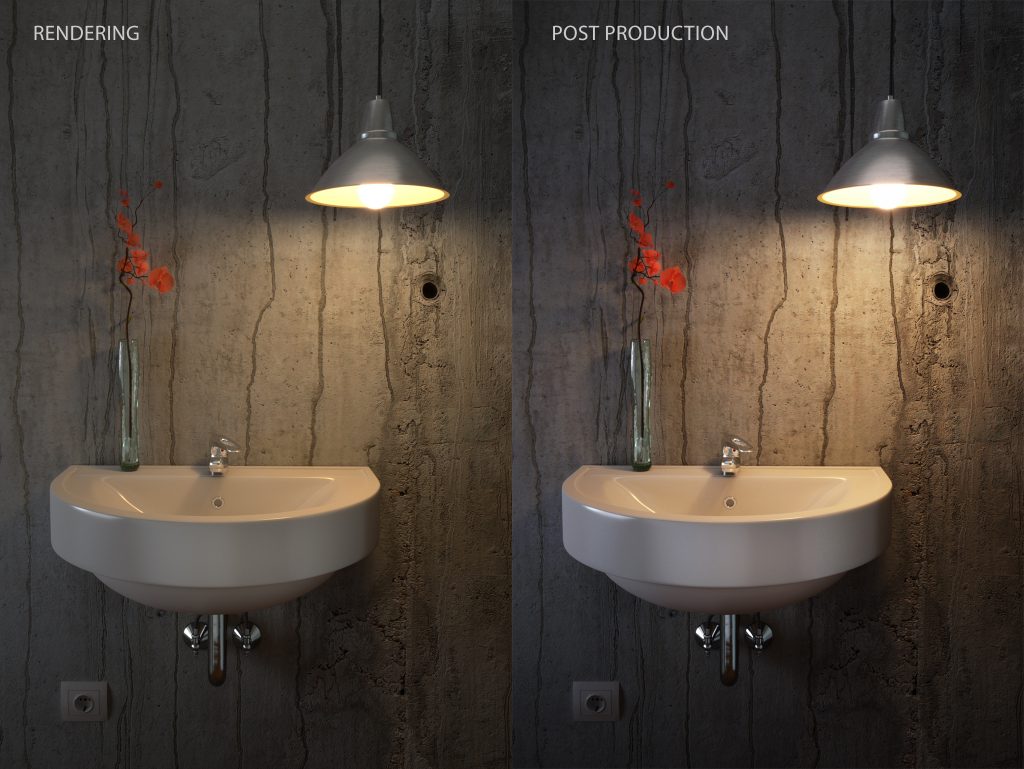
This rendering is a small case study done with Autodesk Maya 2017 and Chaosgroup V-Ray 3.6. Mainly just an academic finger exercise to test some shading and rendering features after a much too long period without 3d project. Here, first of all the final result:
Inspiration
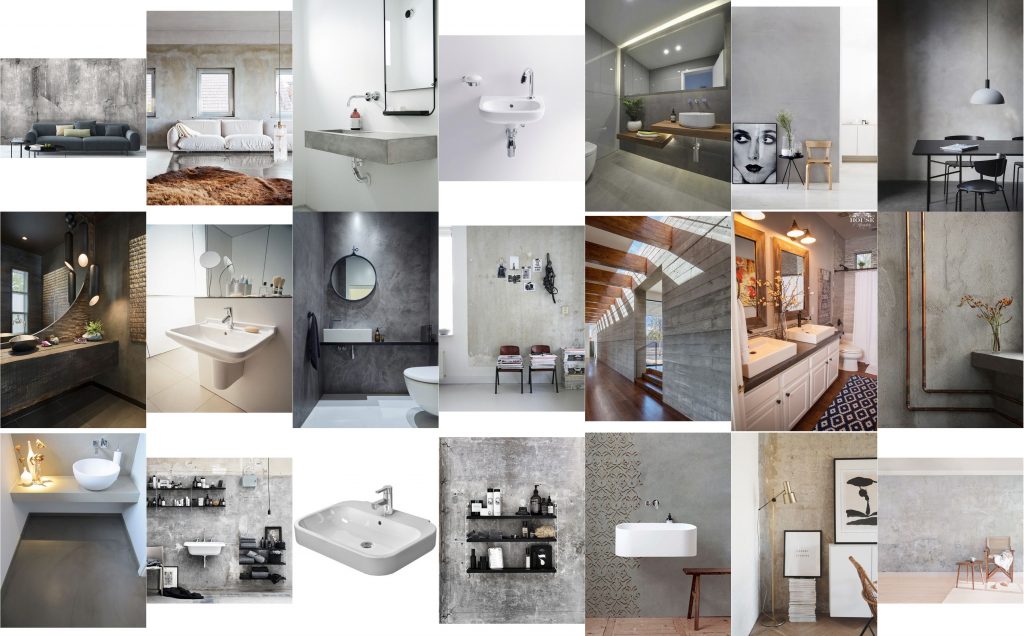
The project started with this wonderful photography of a concrete wall found at textures.com, which seemed to cry out for displacement mapping. Searching the web for photographs of rooms with concrete walls led to the decision of a sink somewhere in the cellar of a family house. The scene’s mood should not be dirty, abandoned or even rotten, even with this rough concrete wall. The sink looks new and clean and a fresh flower is used to show signs of habitation. Here a collage of some images taken from pinterest.com to build a combined mood- and reference board.
Scene Models
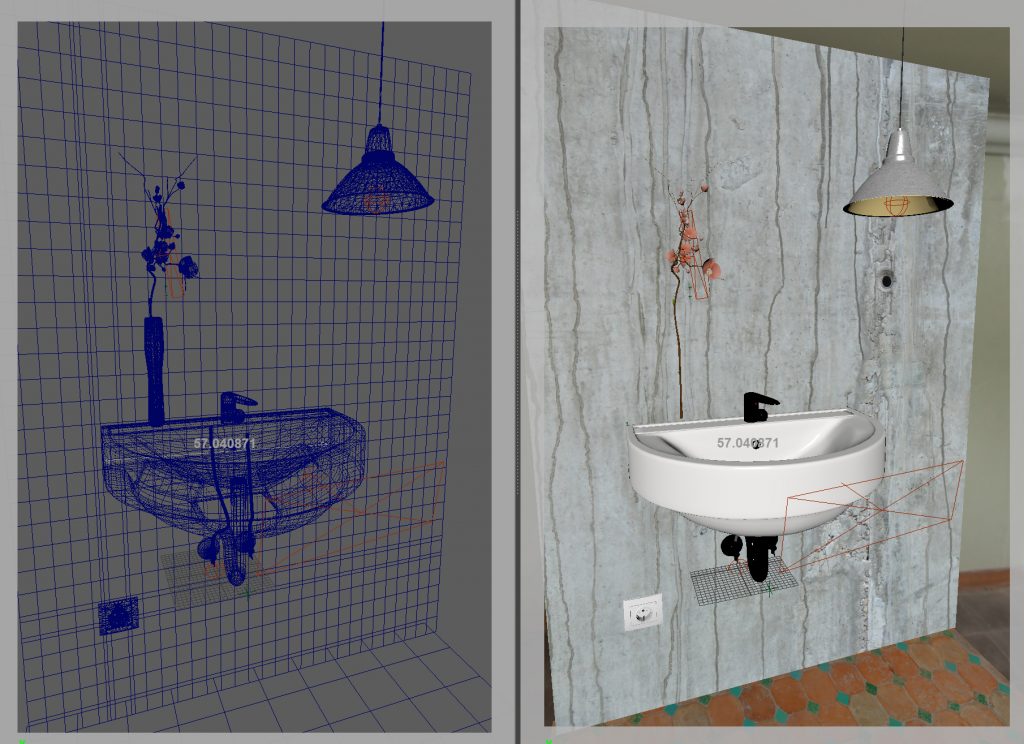
The scene setup uses only a few models: Of course, two planes for the wall and the floor, which is – even if it is not directly seen in the camera view – necessary to be used textured for realistic reflections in the siphon of the sink. Furthermore, the sink with tap, trap and water supply. And a simple overhead light with slightly visible bulb. Beneath the sink is an electric socket. To give the scene a friendly impression, there is a vase with a fresh cut flower on the sink. Overall, the scene consists of approximately just 186.000 faces.
Shading
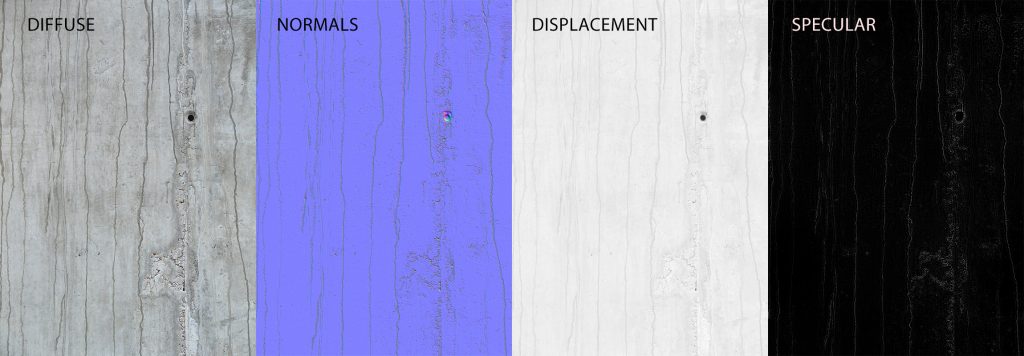
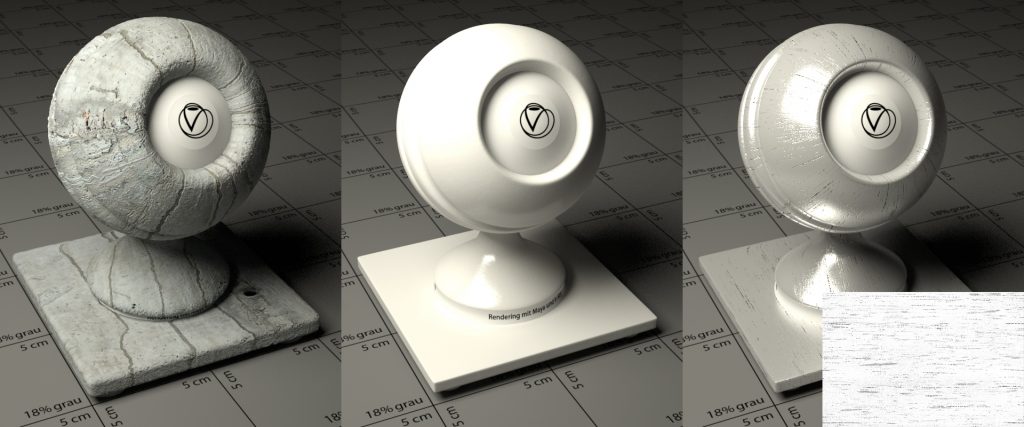
The most important shader of the scene is definitely the concrete. It is the material the whole scene is designed for. Basis is a jpg texture of the wall with a resolution of 1863 * 2592 pixels. Normals, Displacement map and specular map are created with NDO Quixel 2.0.
Furthermore, the ceramic is prominently visible but easy to create. Nearly pure white is used as both diffuse and specular color. The amount of specular roughness is set to 0.600. A Maya noise node is used for bump mapping with just 1% to create slight irregularities.
The construction of the brushed metal of the ceiling light is also simple due to the fact that only one texure is used for the four attribute Diffuse Color, Reflection Color, Highlight Glossiness (with a Reflection Glossiness of 0.800) and Bump Mapping with a Bump Mulitiplier of 0.04.
Lighting
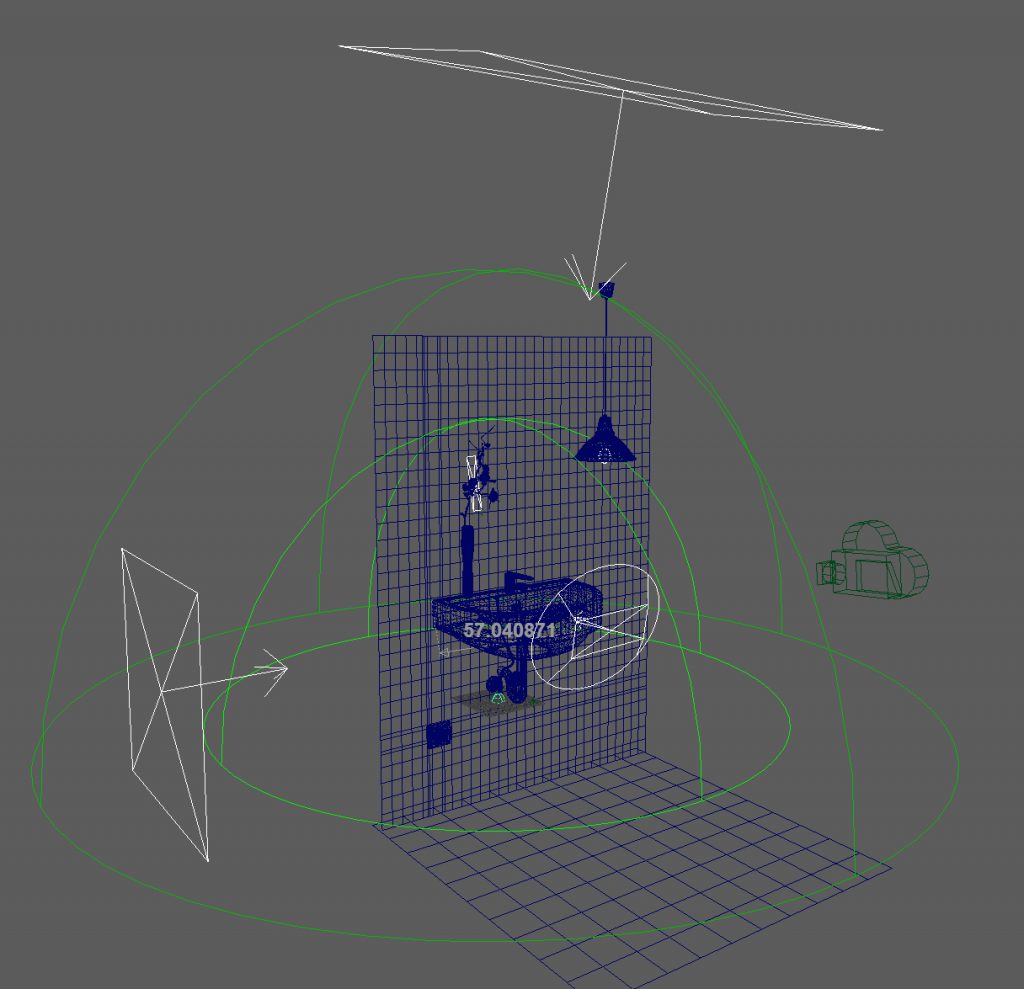
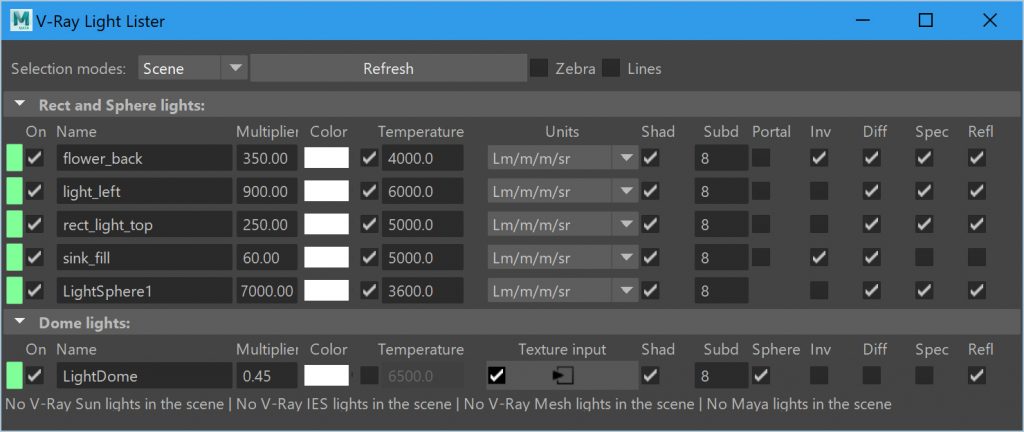
The light rig consists of six different lights. The main light is a VRaySphereLight used as the bulb of the overhead lamp. A VRayRectLight illuminates the scene from the ceiling of the room. A VRayRectLight simulates the Window on the left of the scene. Additionally, there are two fill lights: One directly in front of the sink to brighten up ceramic on the front side. Another VRayRectlight is placed behind the flowers to slightly enhance the translucent effect of the red blossoms.
The lights temperatures are given in Kelvin variying from warm 3600 K for the bulb up to blueish 6000 K for the light rays coming in by the window.
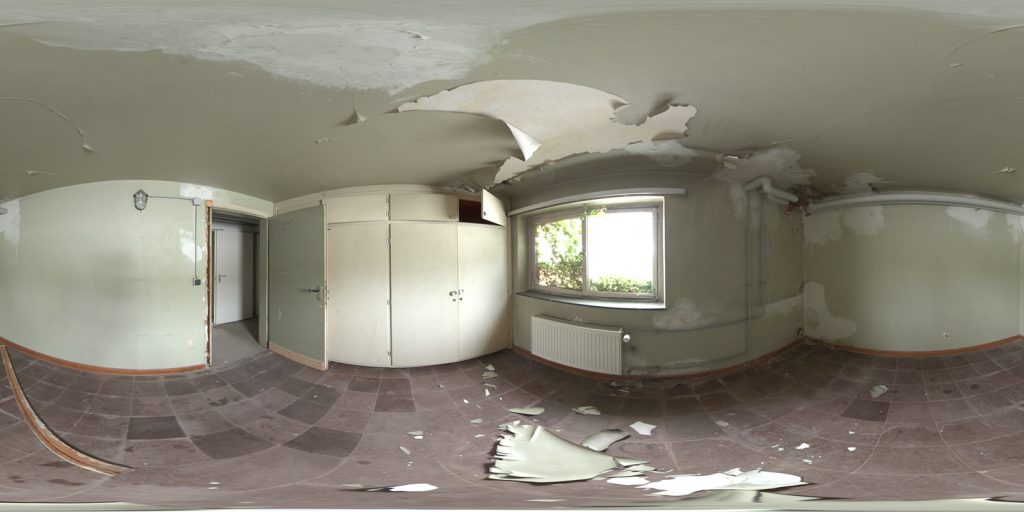
There is one further light source: A VRayLDomeLight with a HDR image as its texture is used just like for image based lighting. Nevertheless, both diffuse and specular contribution are deactivated. The IBL is therefore only used to create blurry coloured reflections. Due to the surface structure of the scene objects the abandoned origin of the image isa not visible or recognizable in the final rendering.
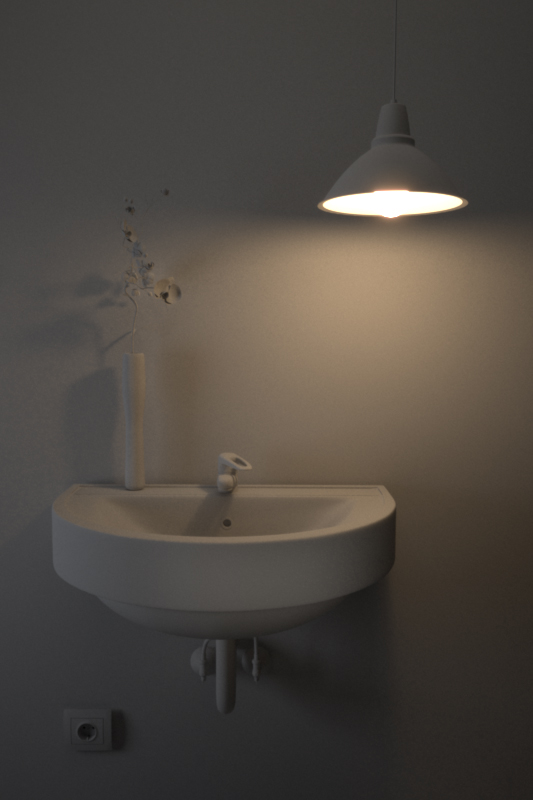
To get a detailed but quick rendered impression of the work of the built light rig, a light balance rendering is done with a pure diffuse grey shader override.
Render Settings
The camera used for the rendering is set to a VRayPhysicalCamera with a focal length of 55 mm (at a full-frame sensor with 36 * 24 mm ans ISO 400), an aperture of 8.0 (a real photography of the scene should not show depth of field) and 1/30 sec shutter time.
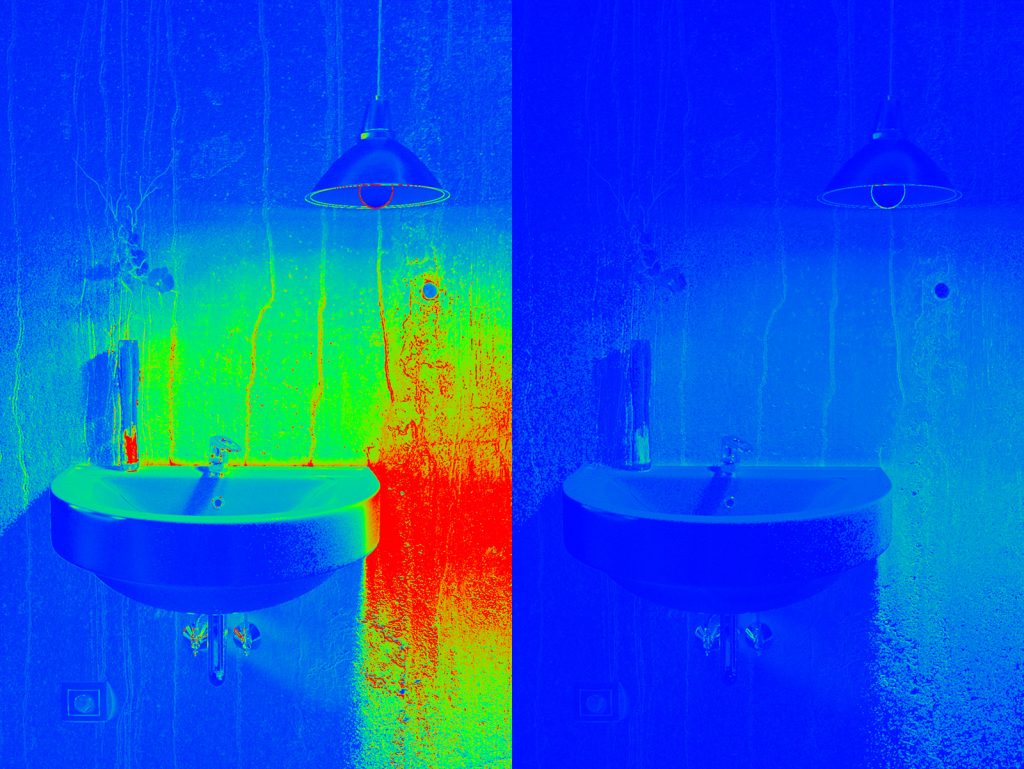
To get a rendering clean of noise the combination of Brute Force for primary rays and Light Cache for secondary rays was use with the following subdiv settings
- Min Sampling rate 10
- Brute Force subdivs 8
- LC subdivs 1000
- Max AA subdivs 30
- Noise Threshold 0.005
- AA filter type: Gaussian 2.0
Sampling noise was controlled and adjusted using the Sample Rate Render Element.
At a resolution of 1364 * 2048 pixels for the final image, VRay took approximately one hour to complete the rendering.
Post Production
Finally, every rendering needs additional processing in the post production. Here, Adobe Photoshop CC was used to particularly increase the contrast and slightly change the colour of the image. I detail, the following corrections and filters are used:
- Adjustments Curves with a S-formed shape
- Brightness and contrast with both attributes +8
- Gaussian Blur with a radius of 0.2 pixels
- Lens Correction with a vignette at -15
- Photo Filter with 6% LBB Cooling Filter
